


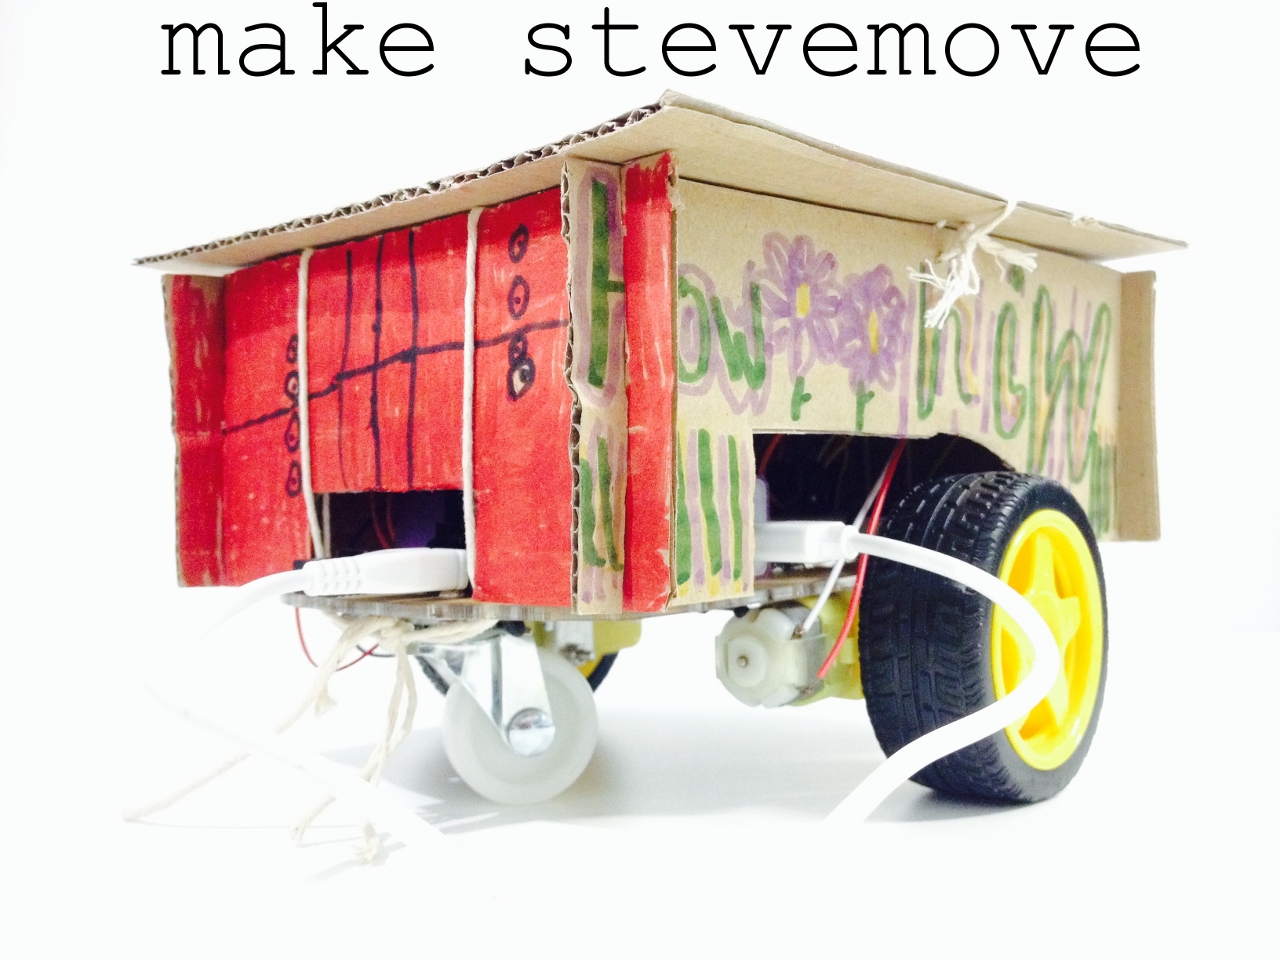
by: Elisabetta Motta and Jason Wan
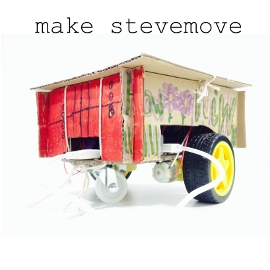
“Make stevemove” is a child’s companion that can be used to help teaching the very basics of coding and aims to help developing children’s logical thinking.
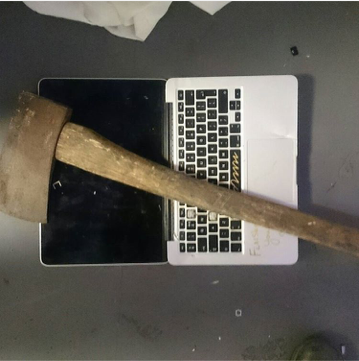
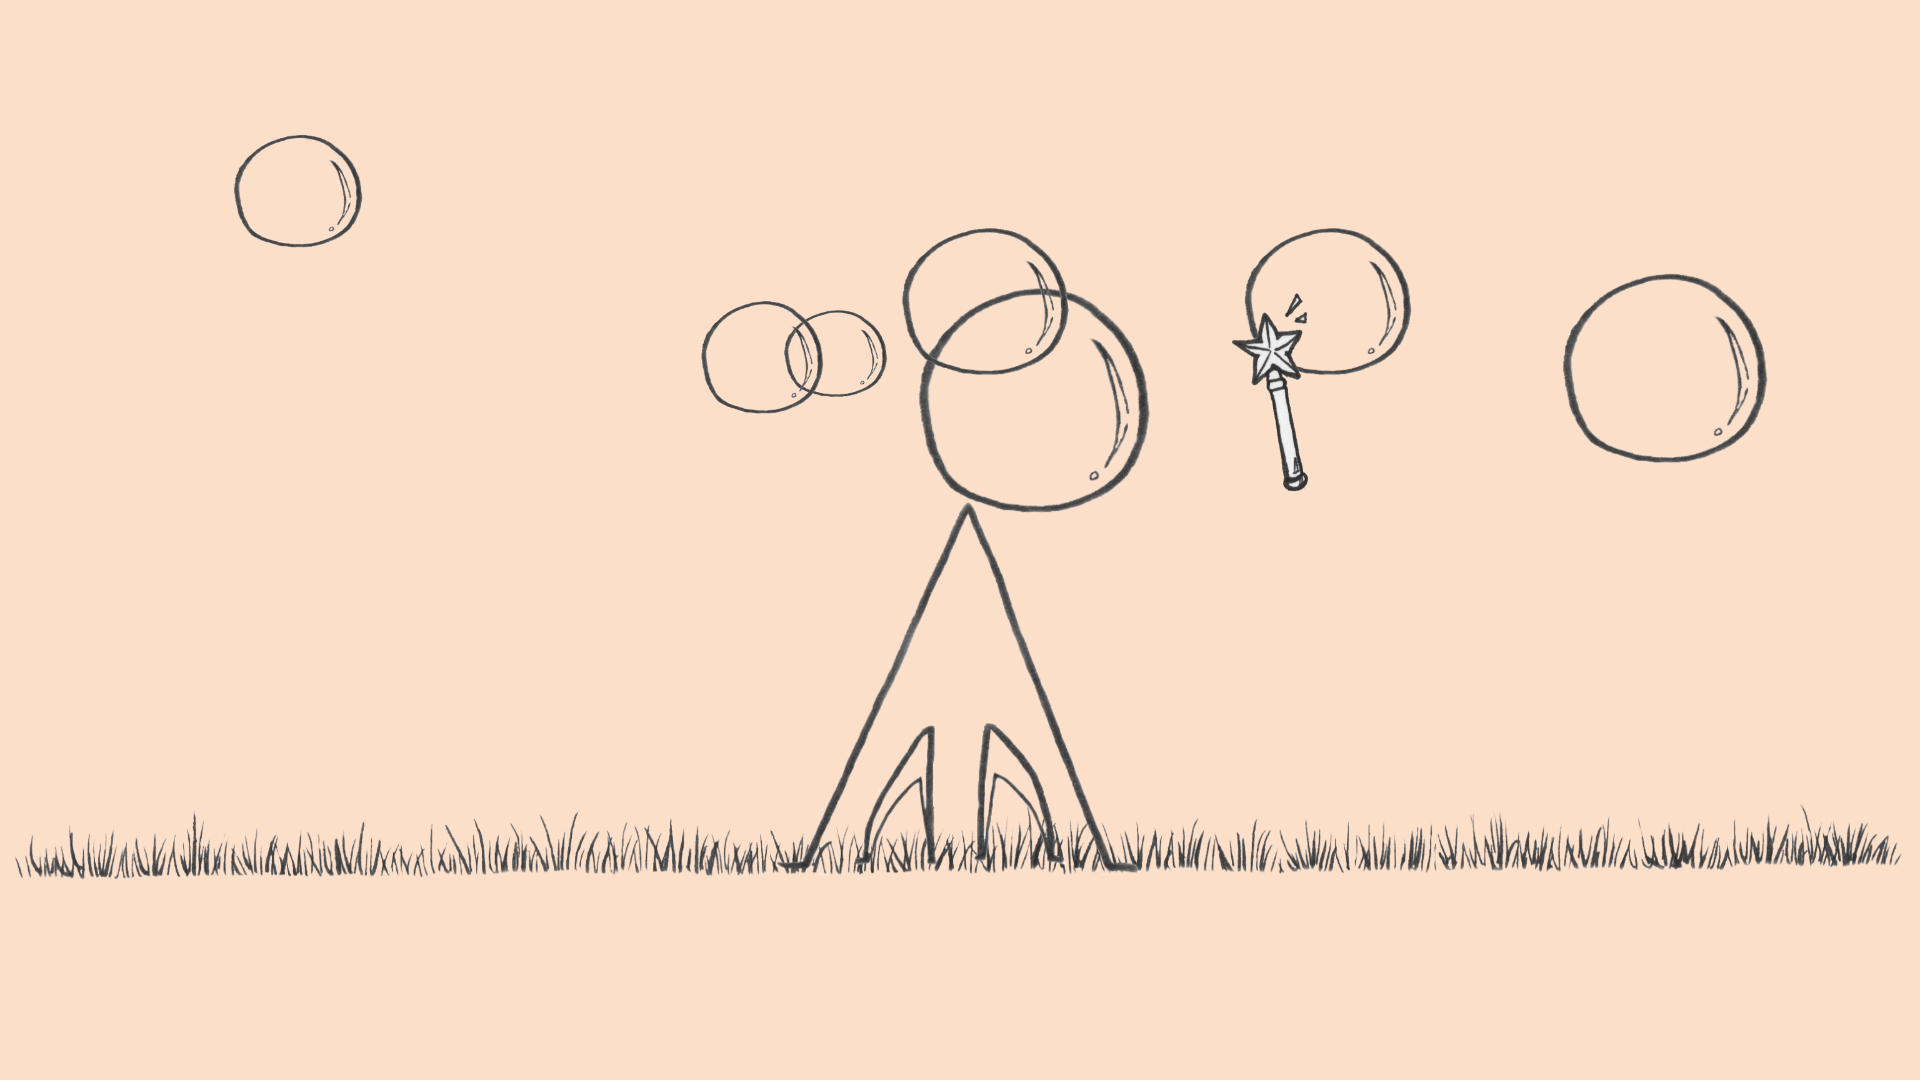
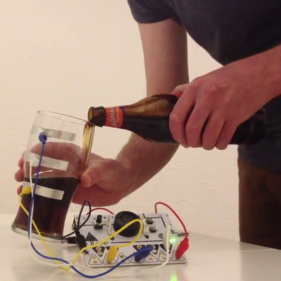
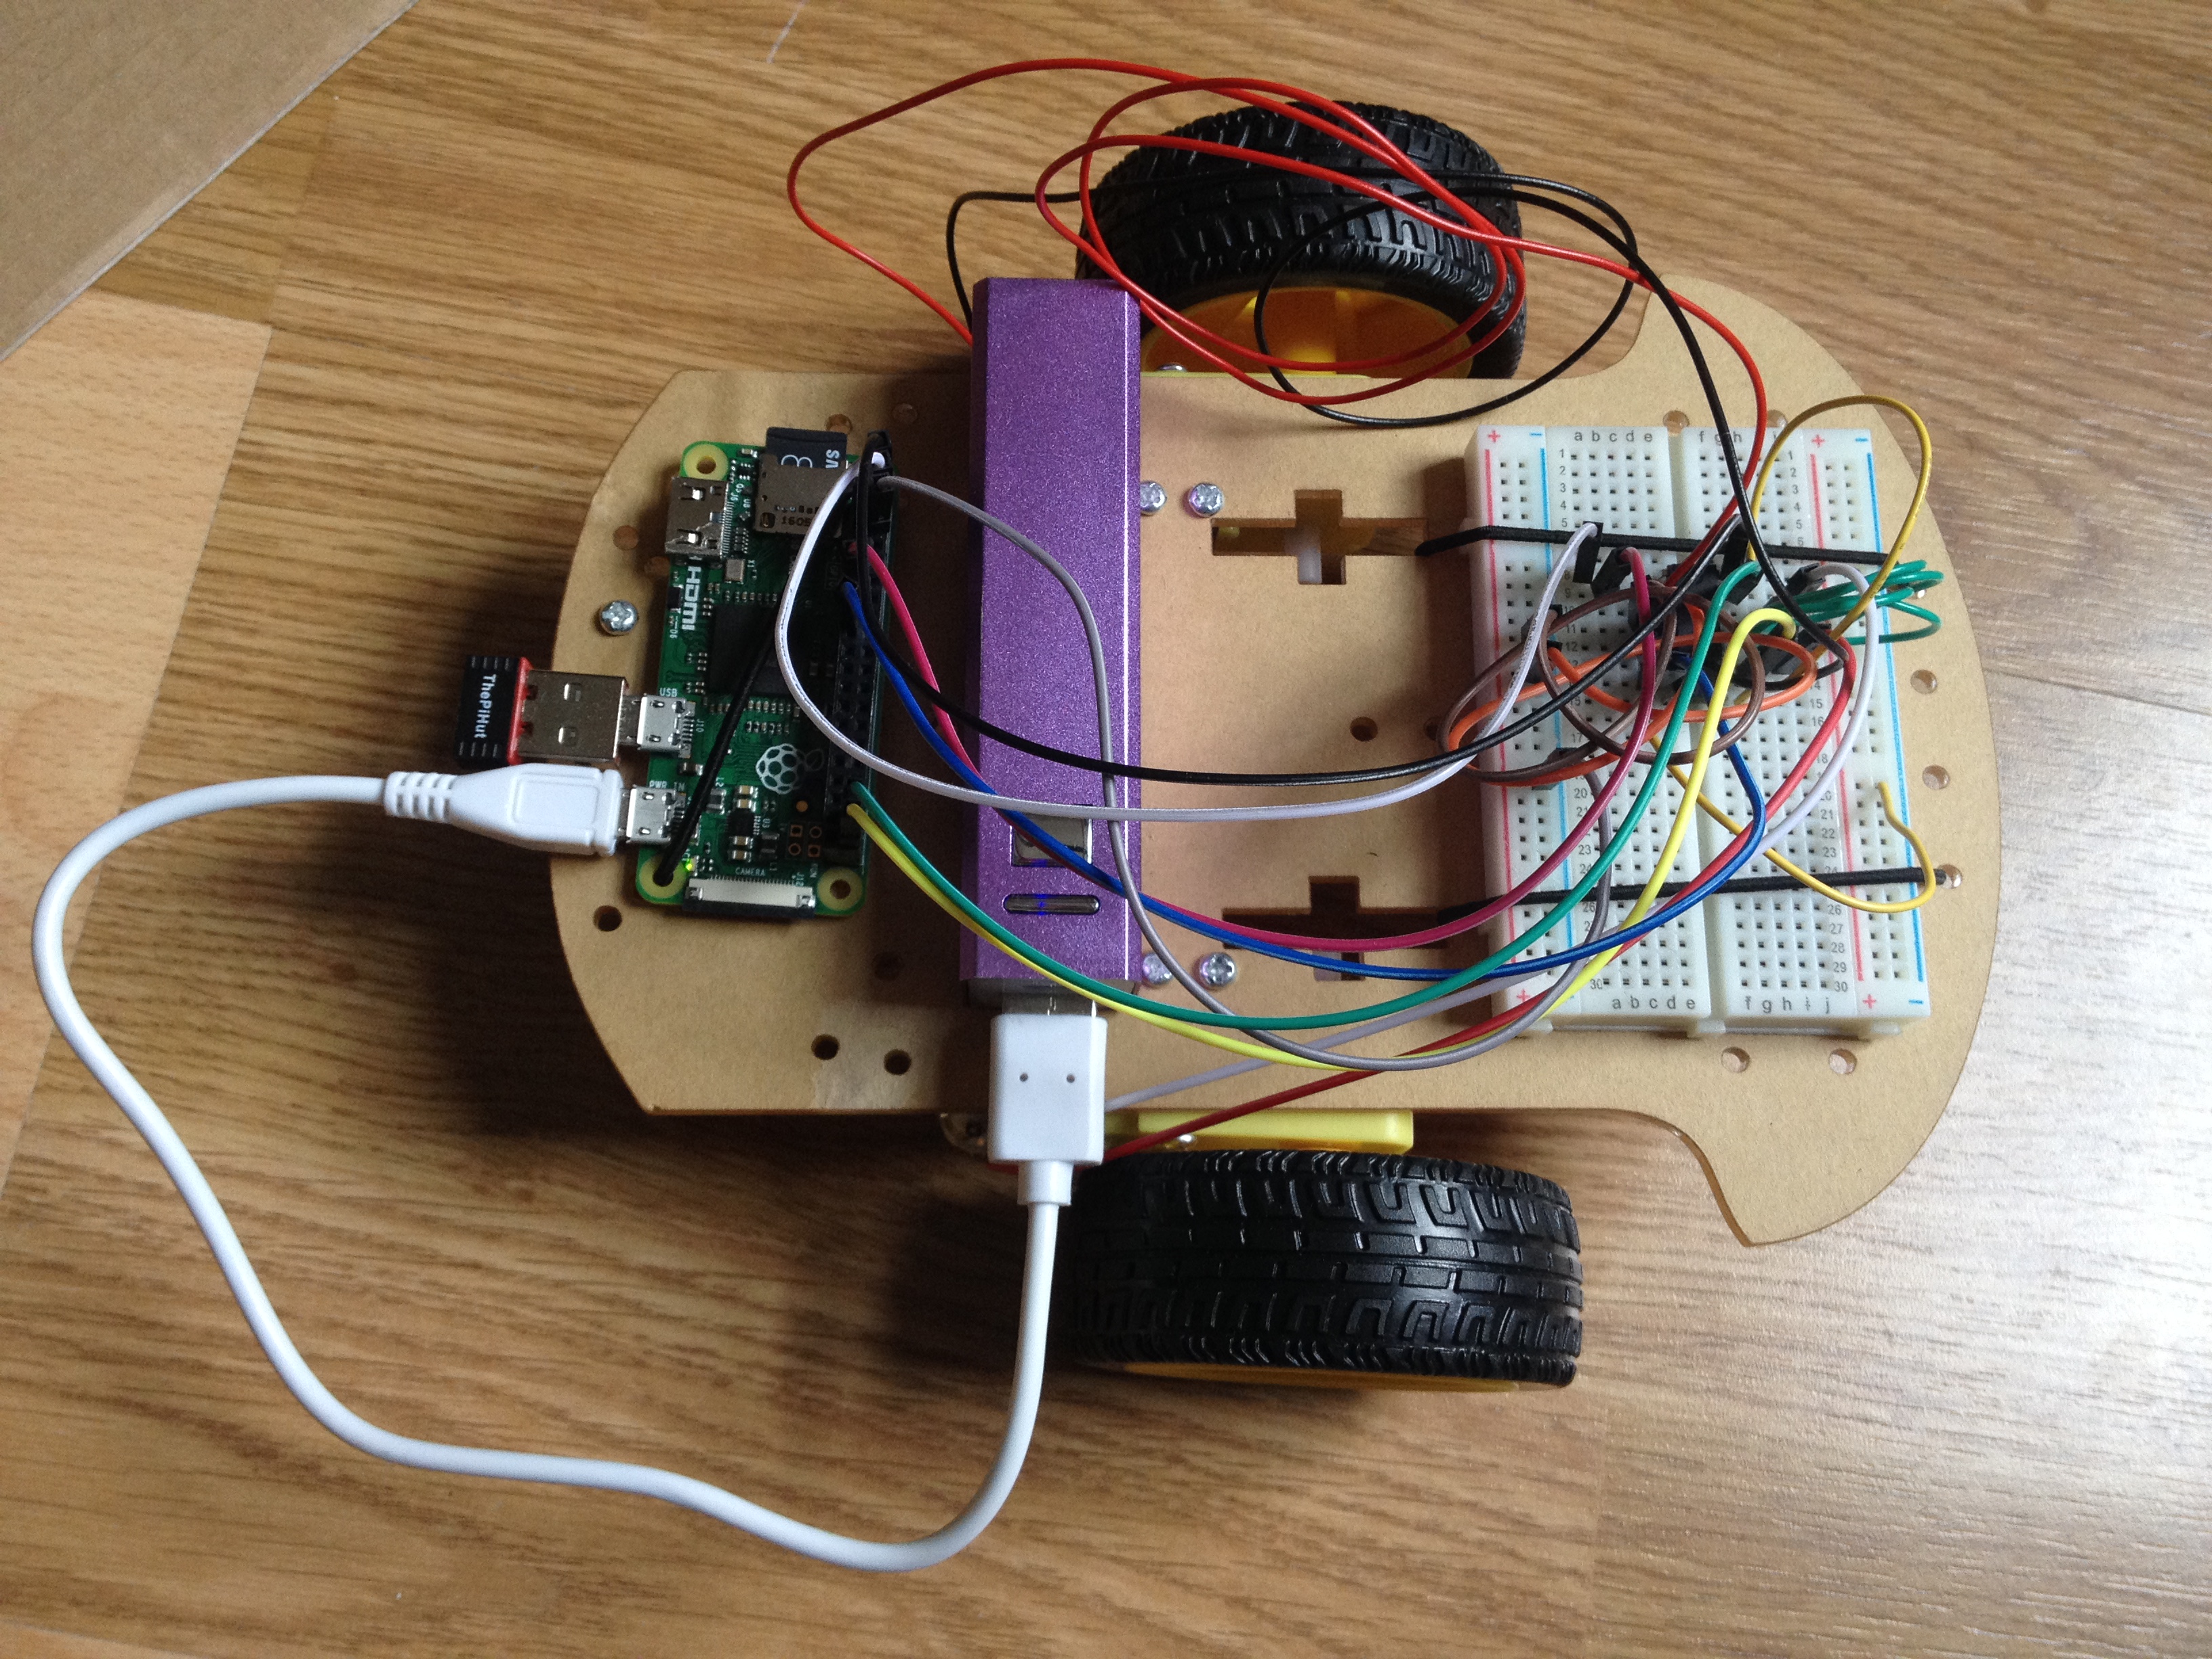
Our final product is a toy robot that follows simple instructions such as going forward, backwards, left and right.
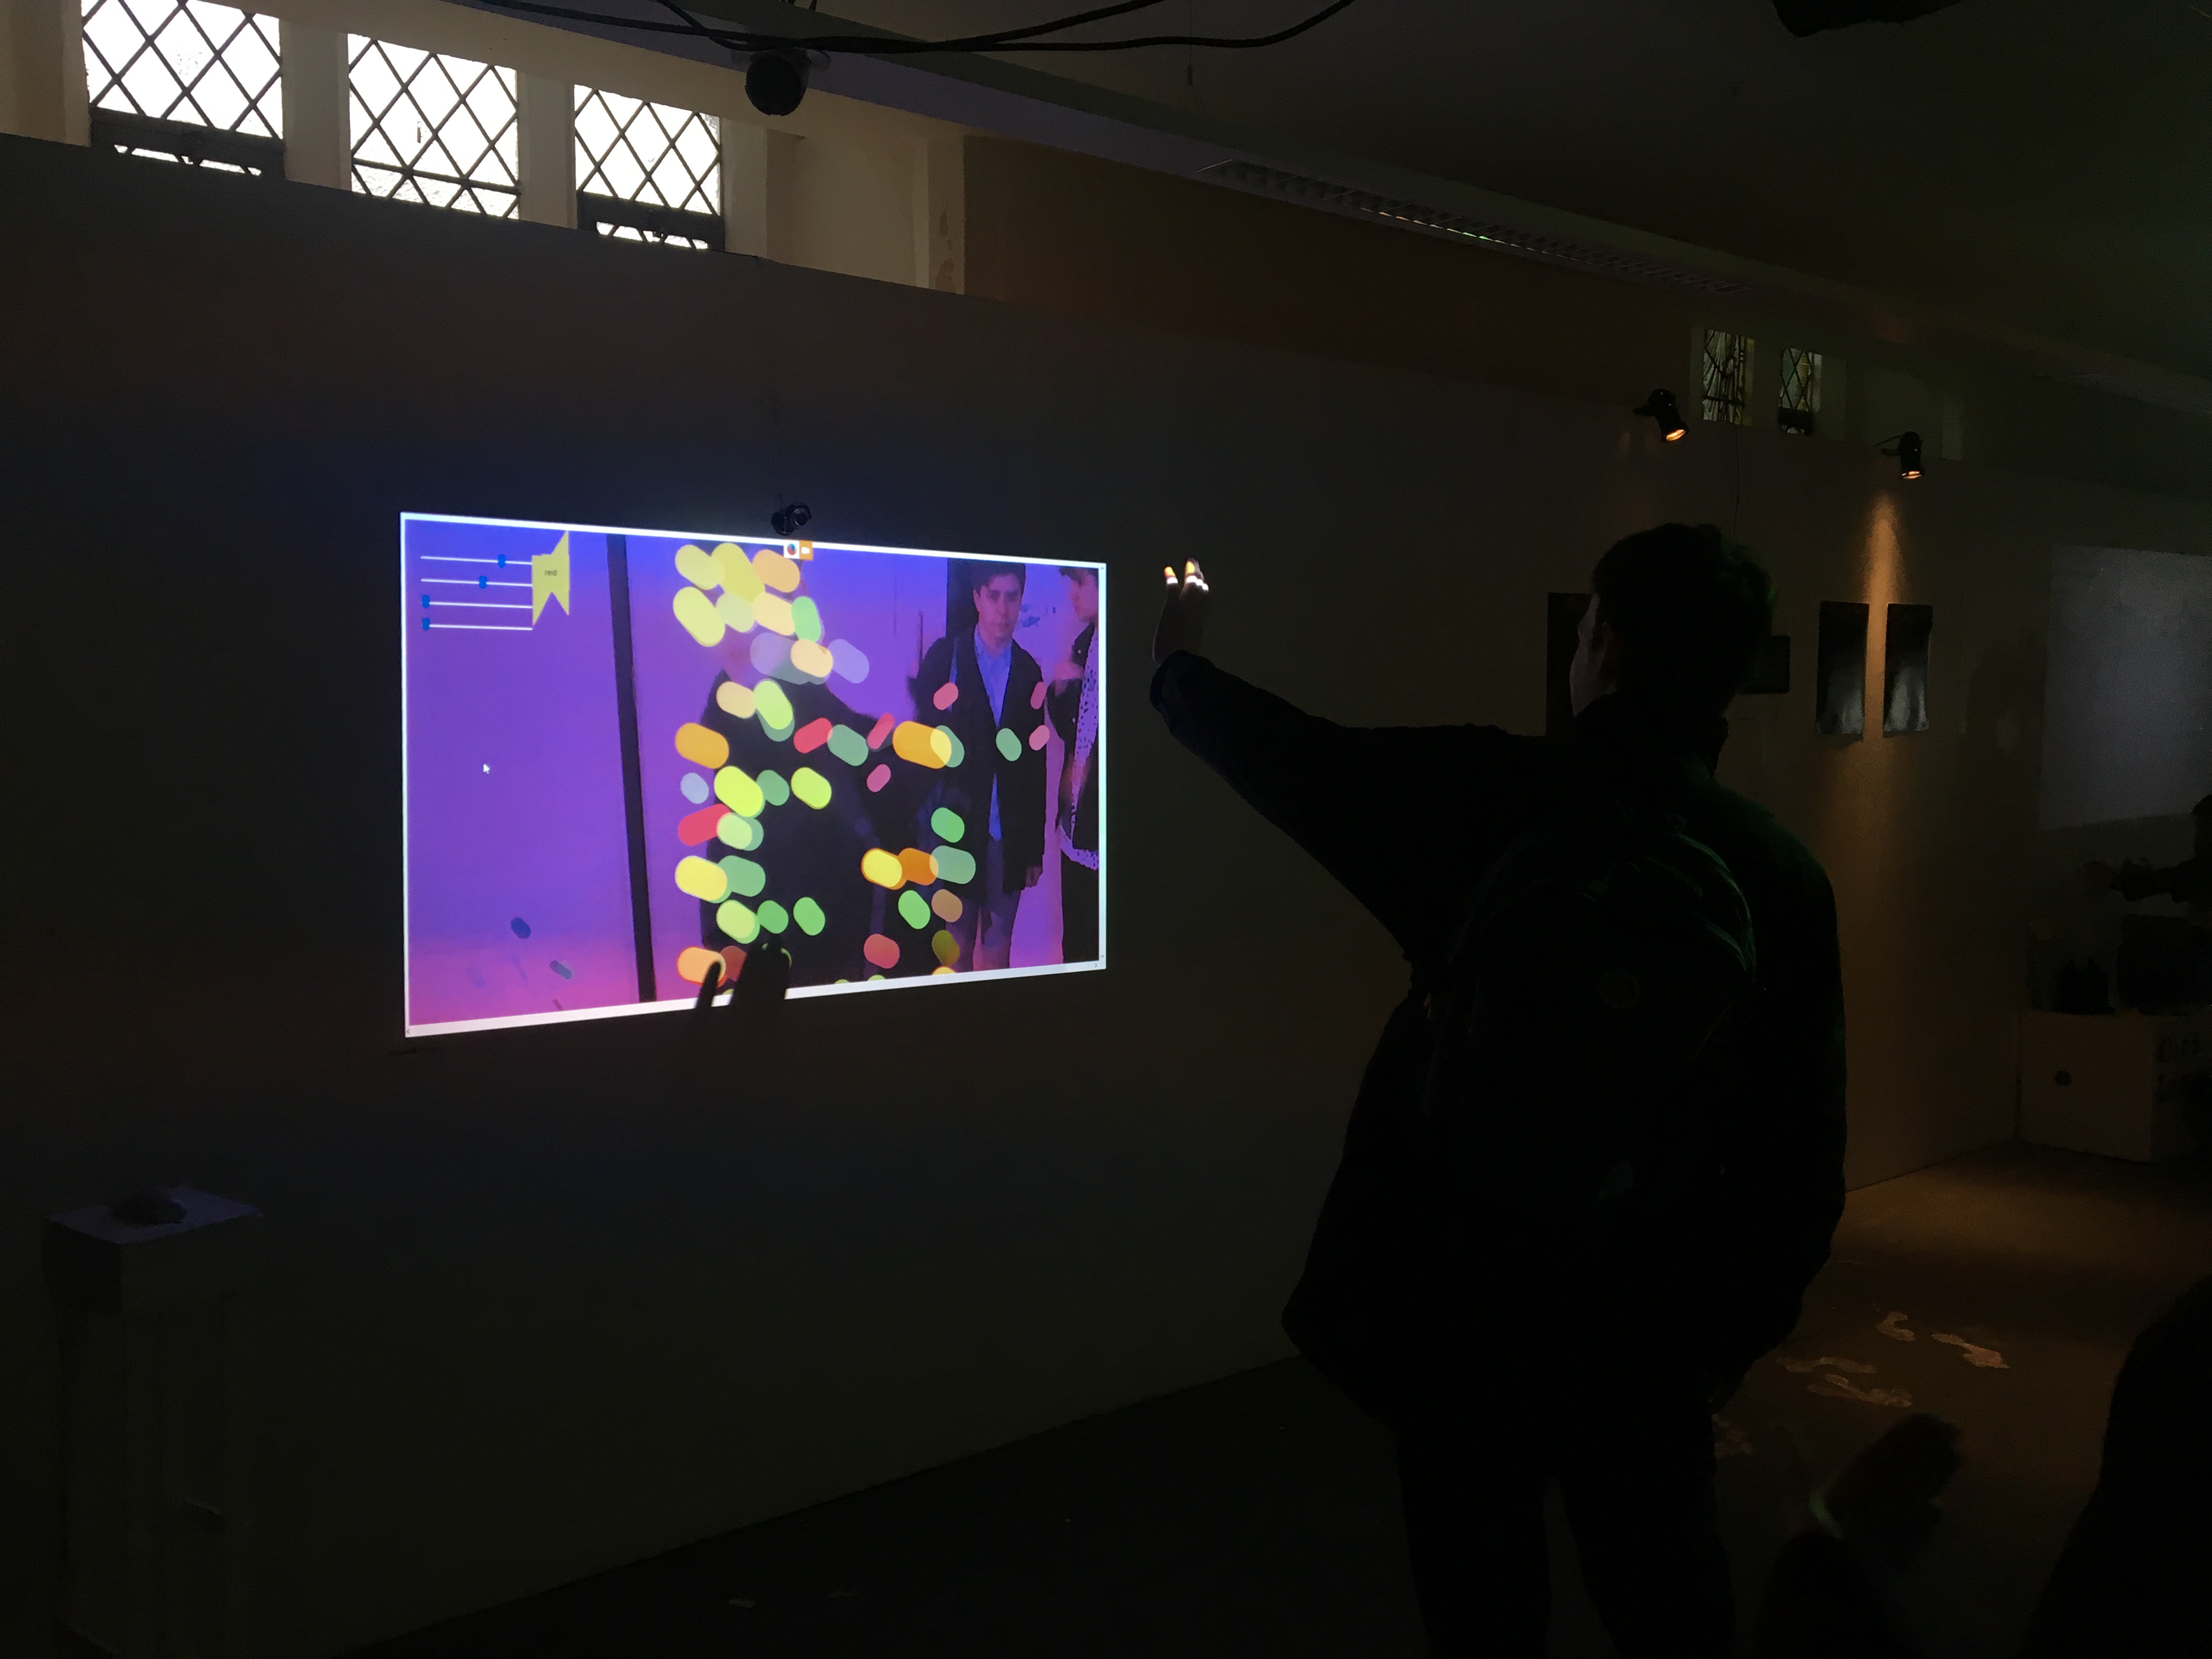
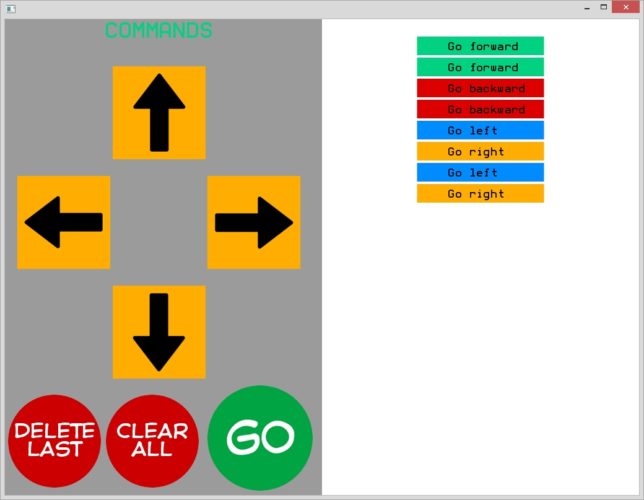
Steve is controlled via a simple visual interface where the child can assign a series of instruction to it and then press “GO” to watch it move around.
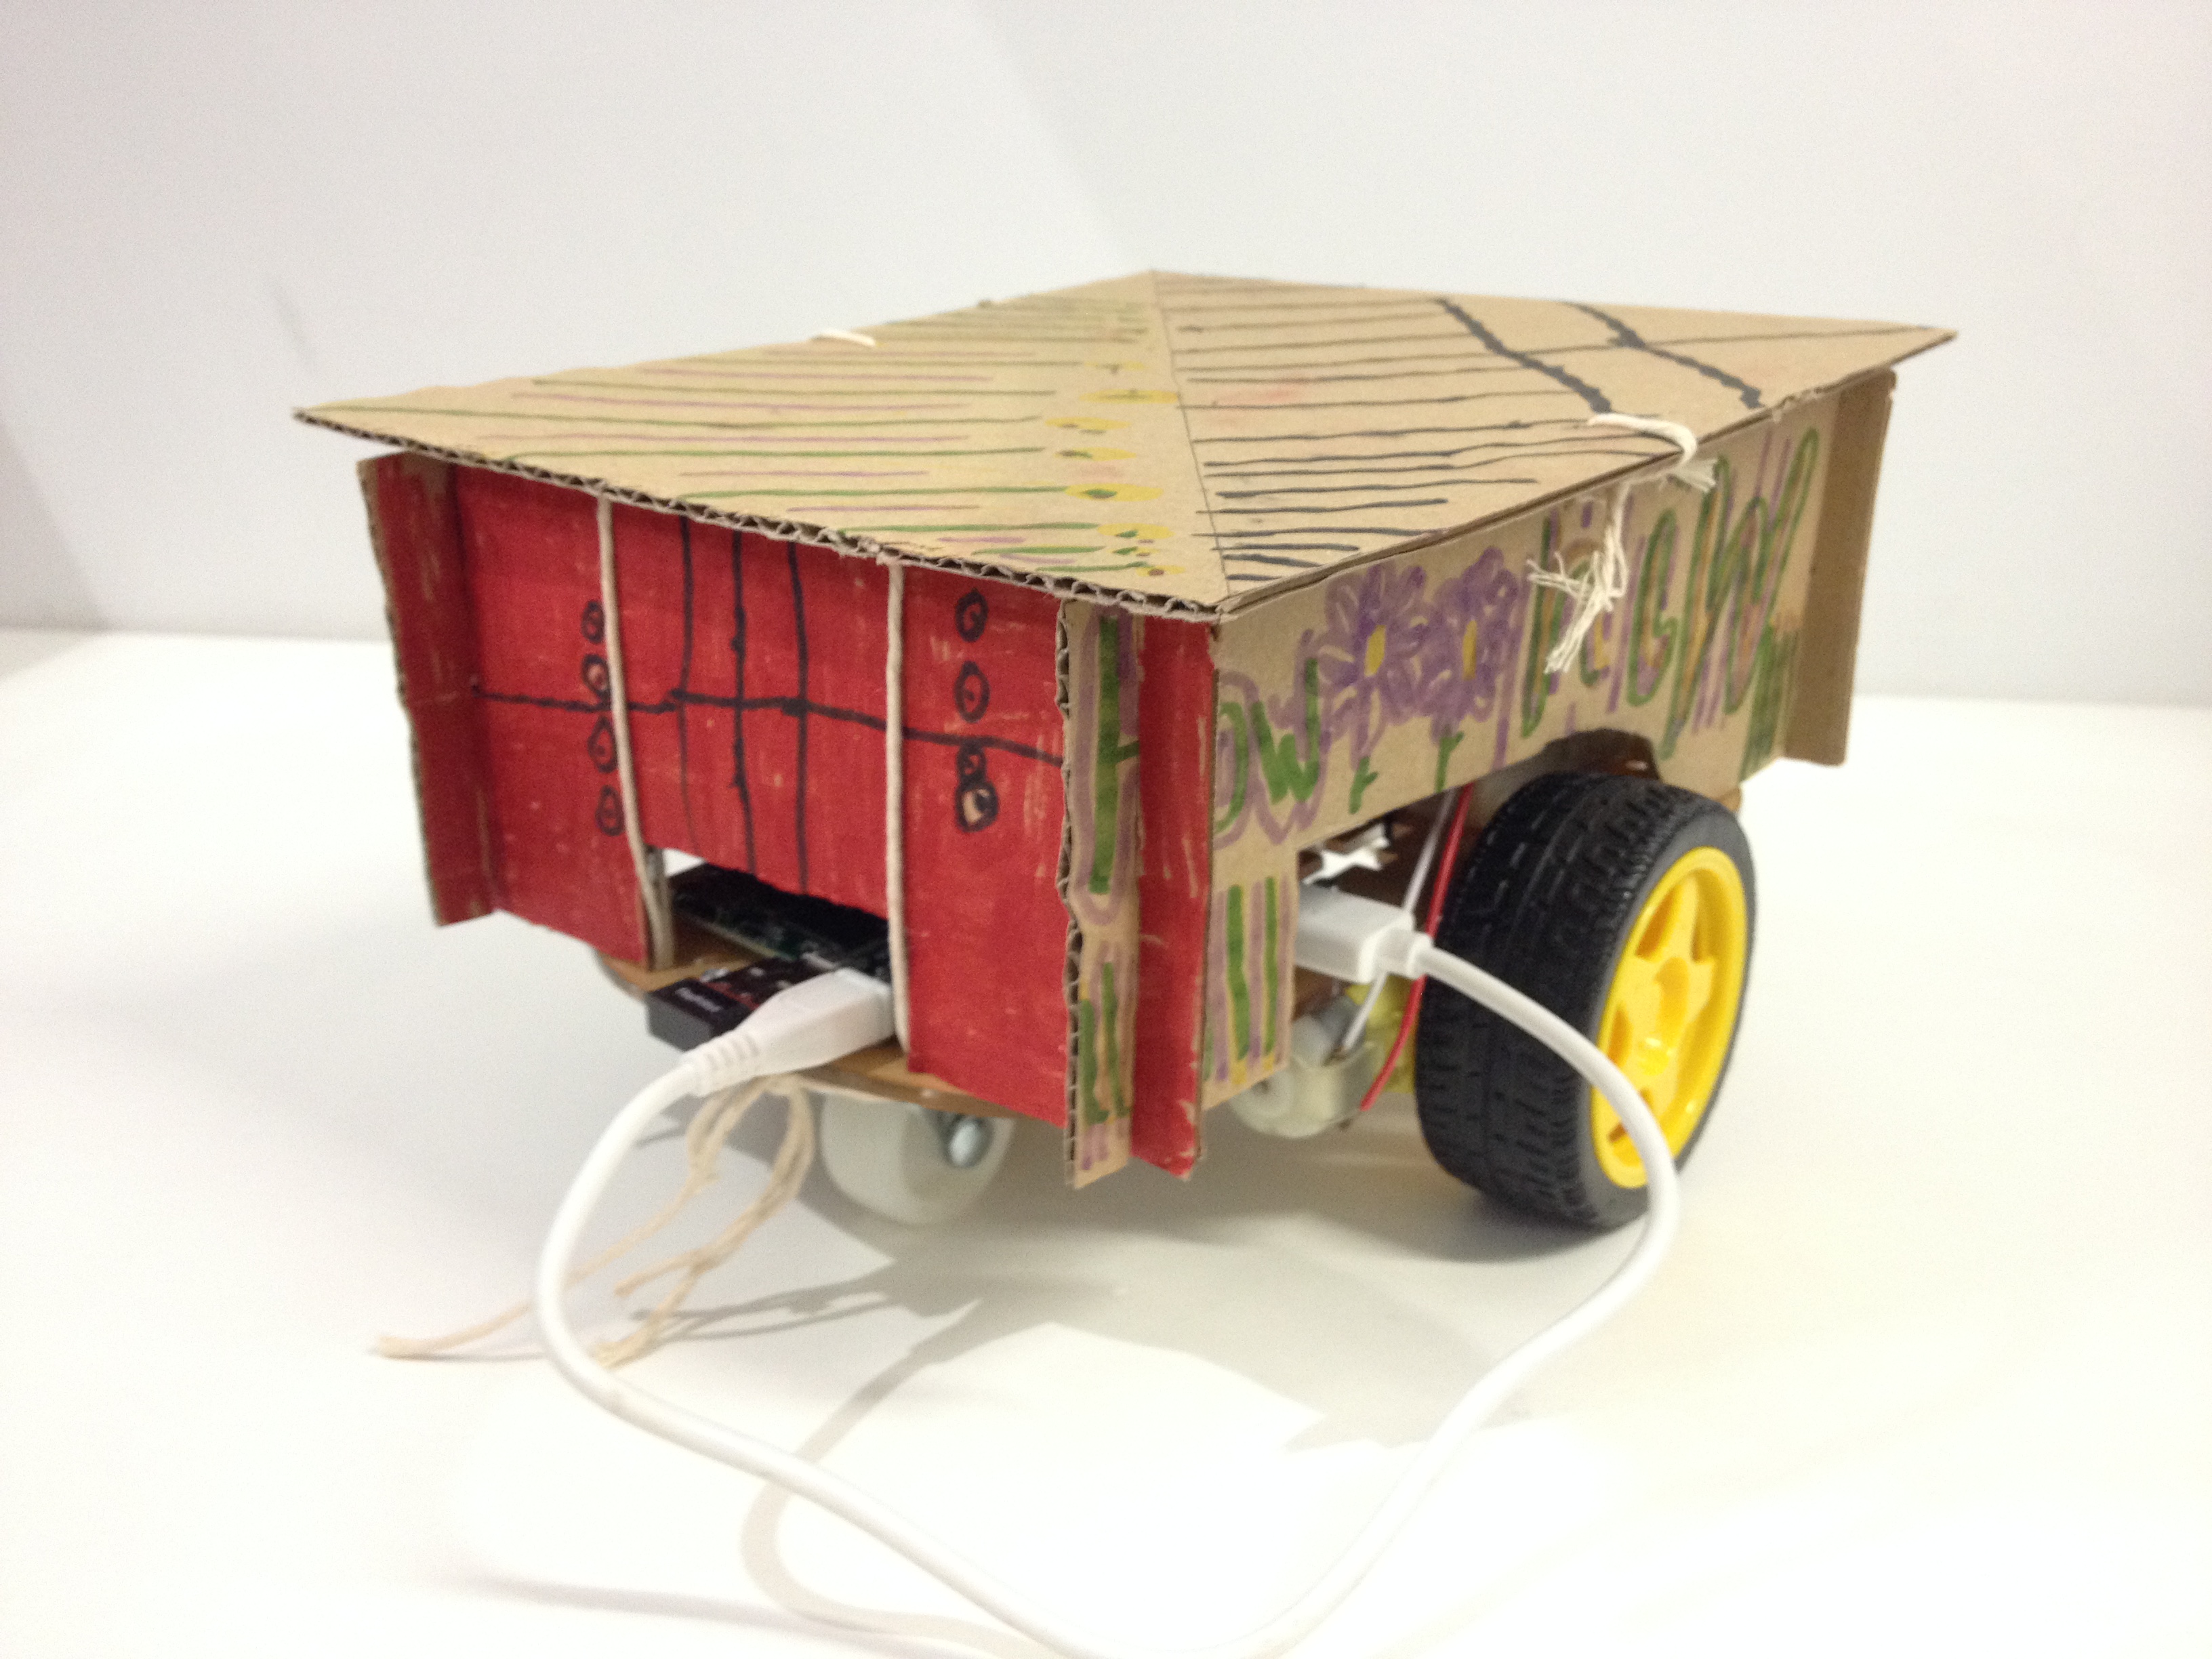
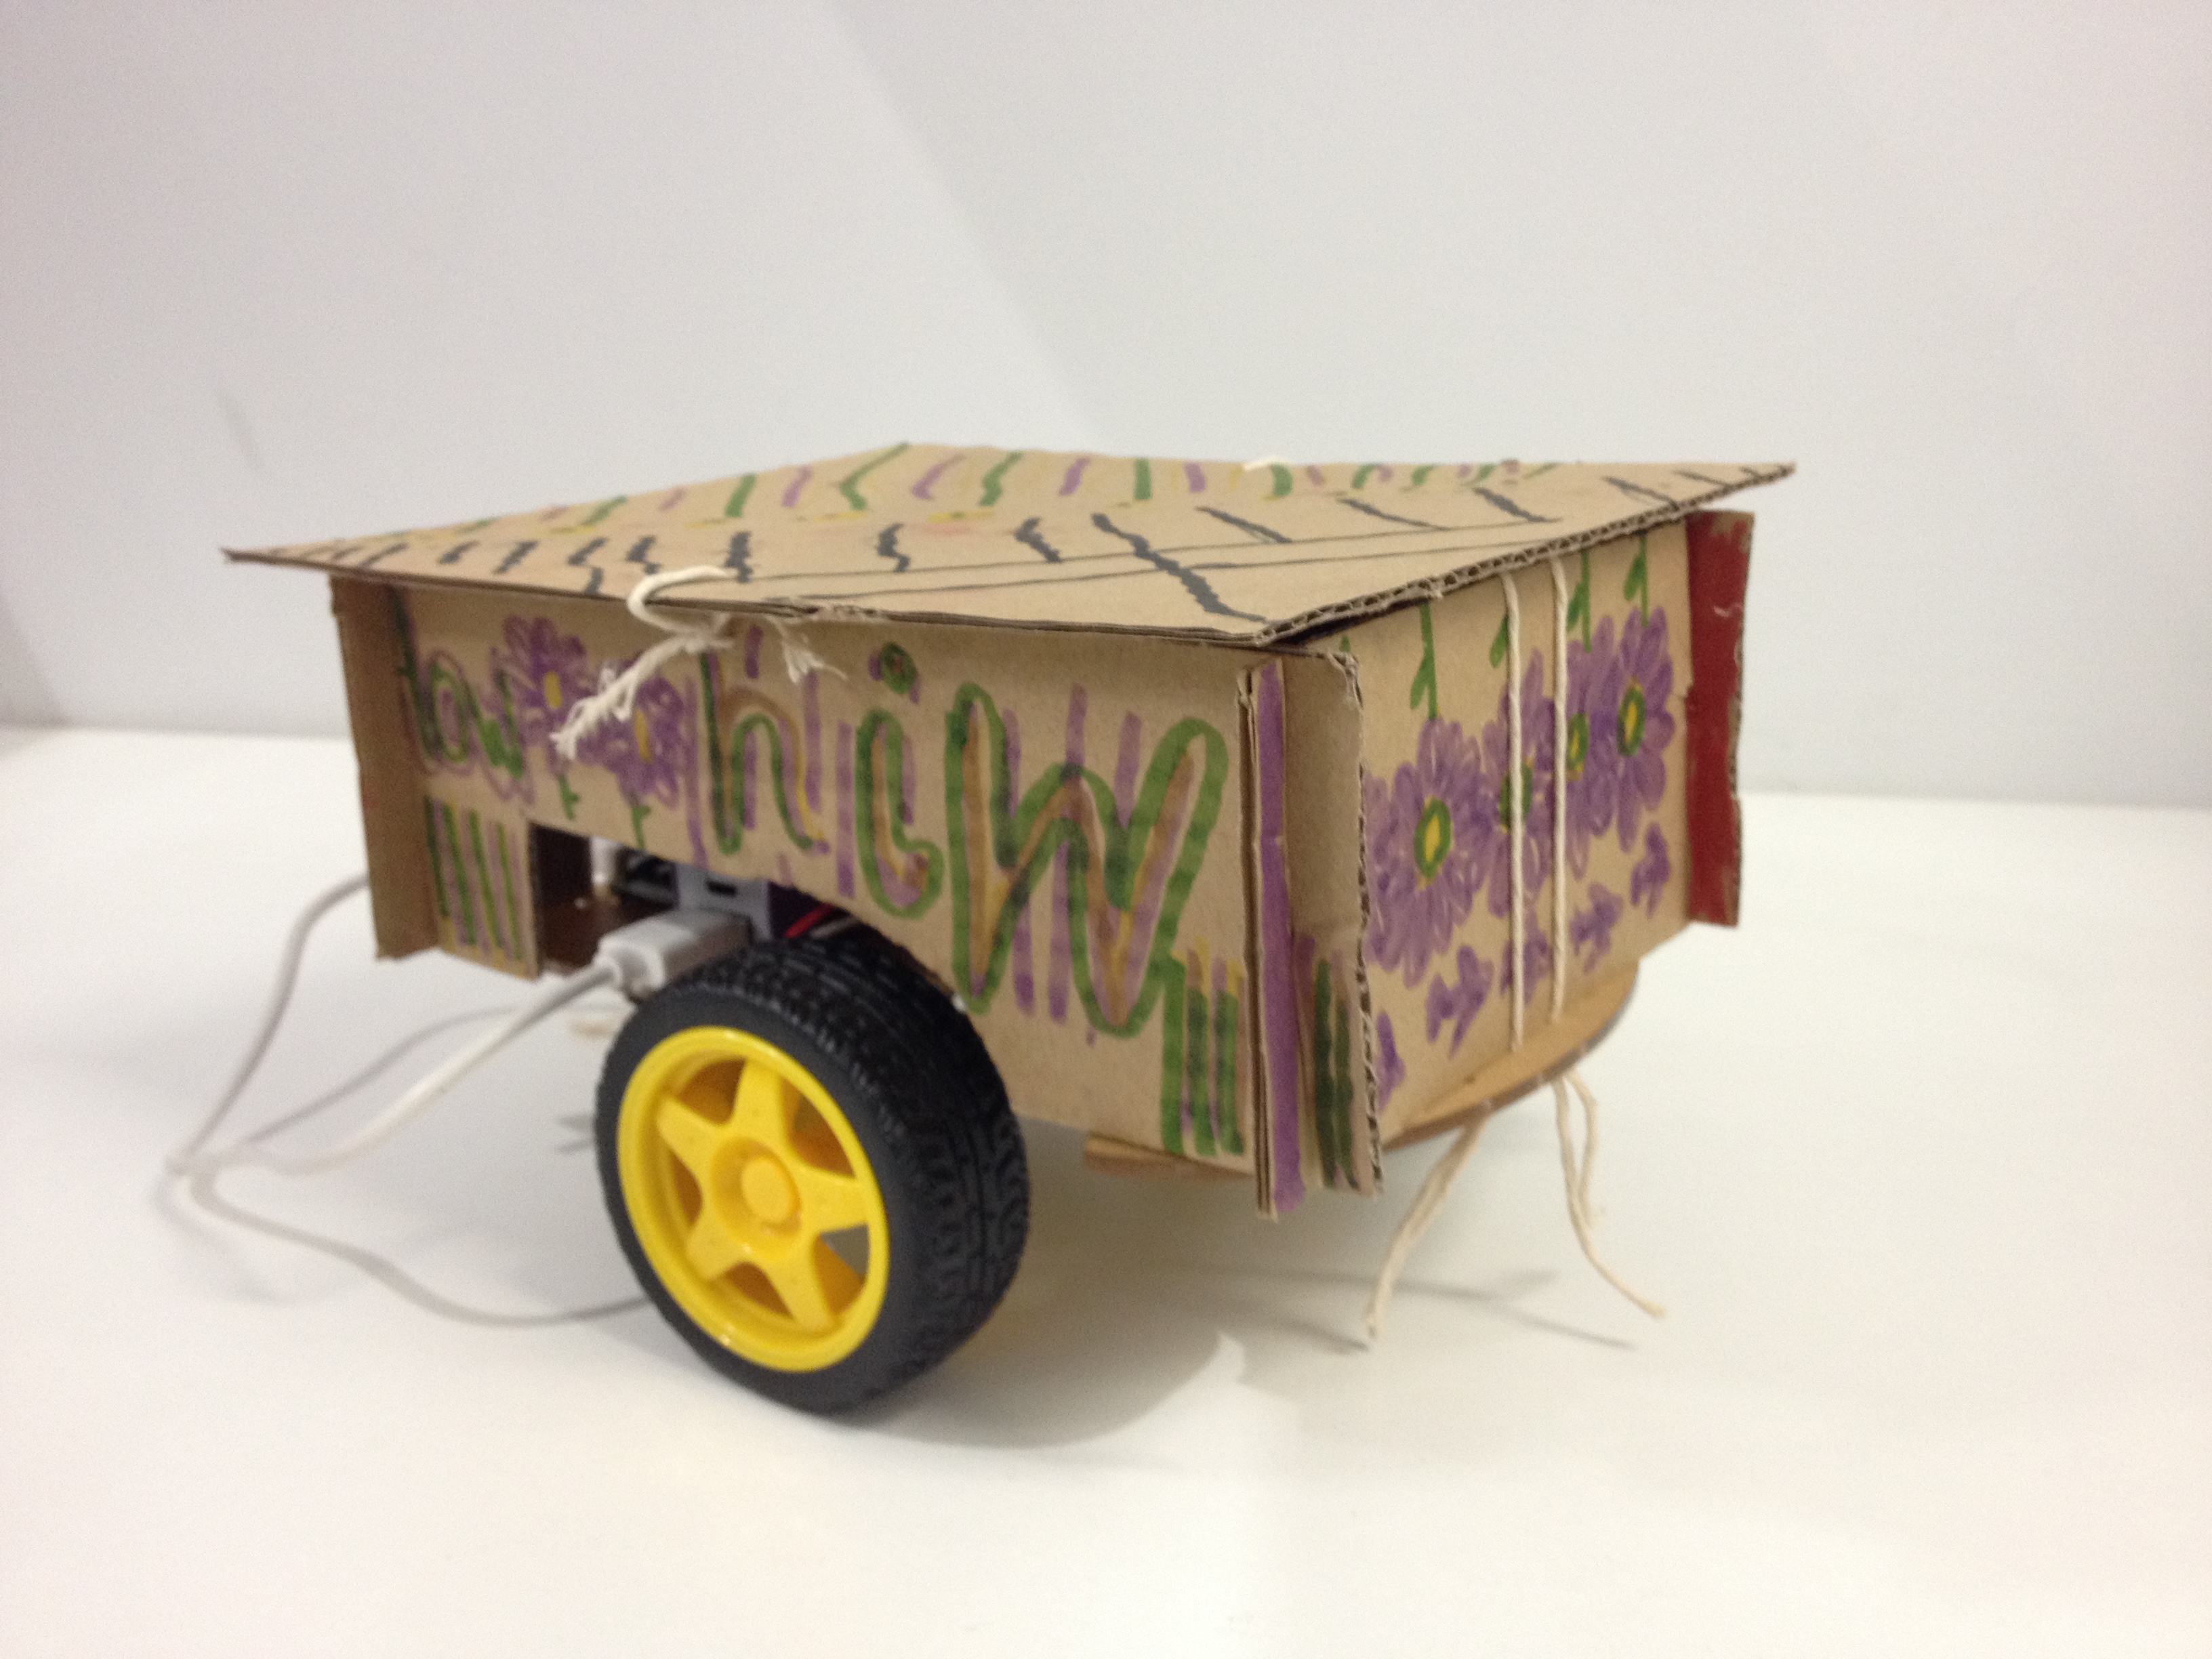
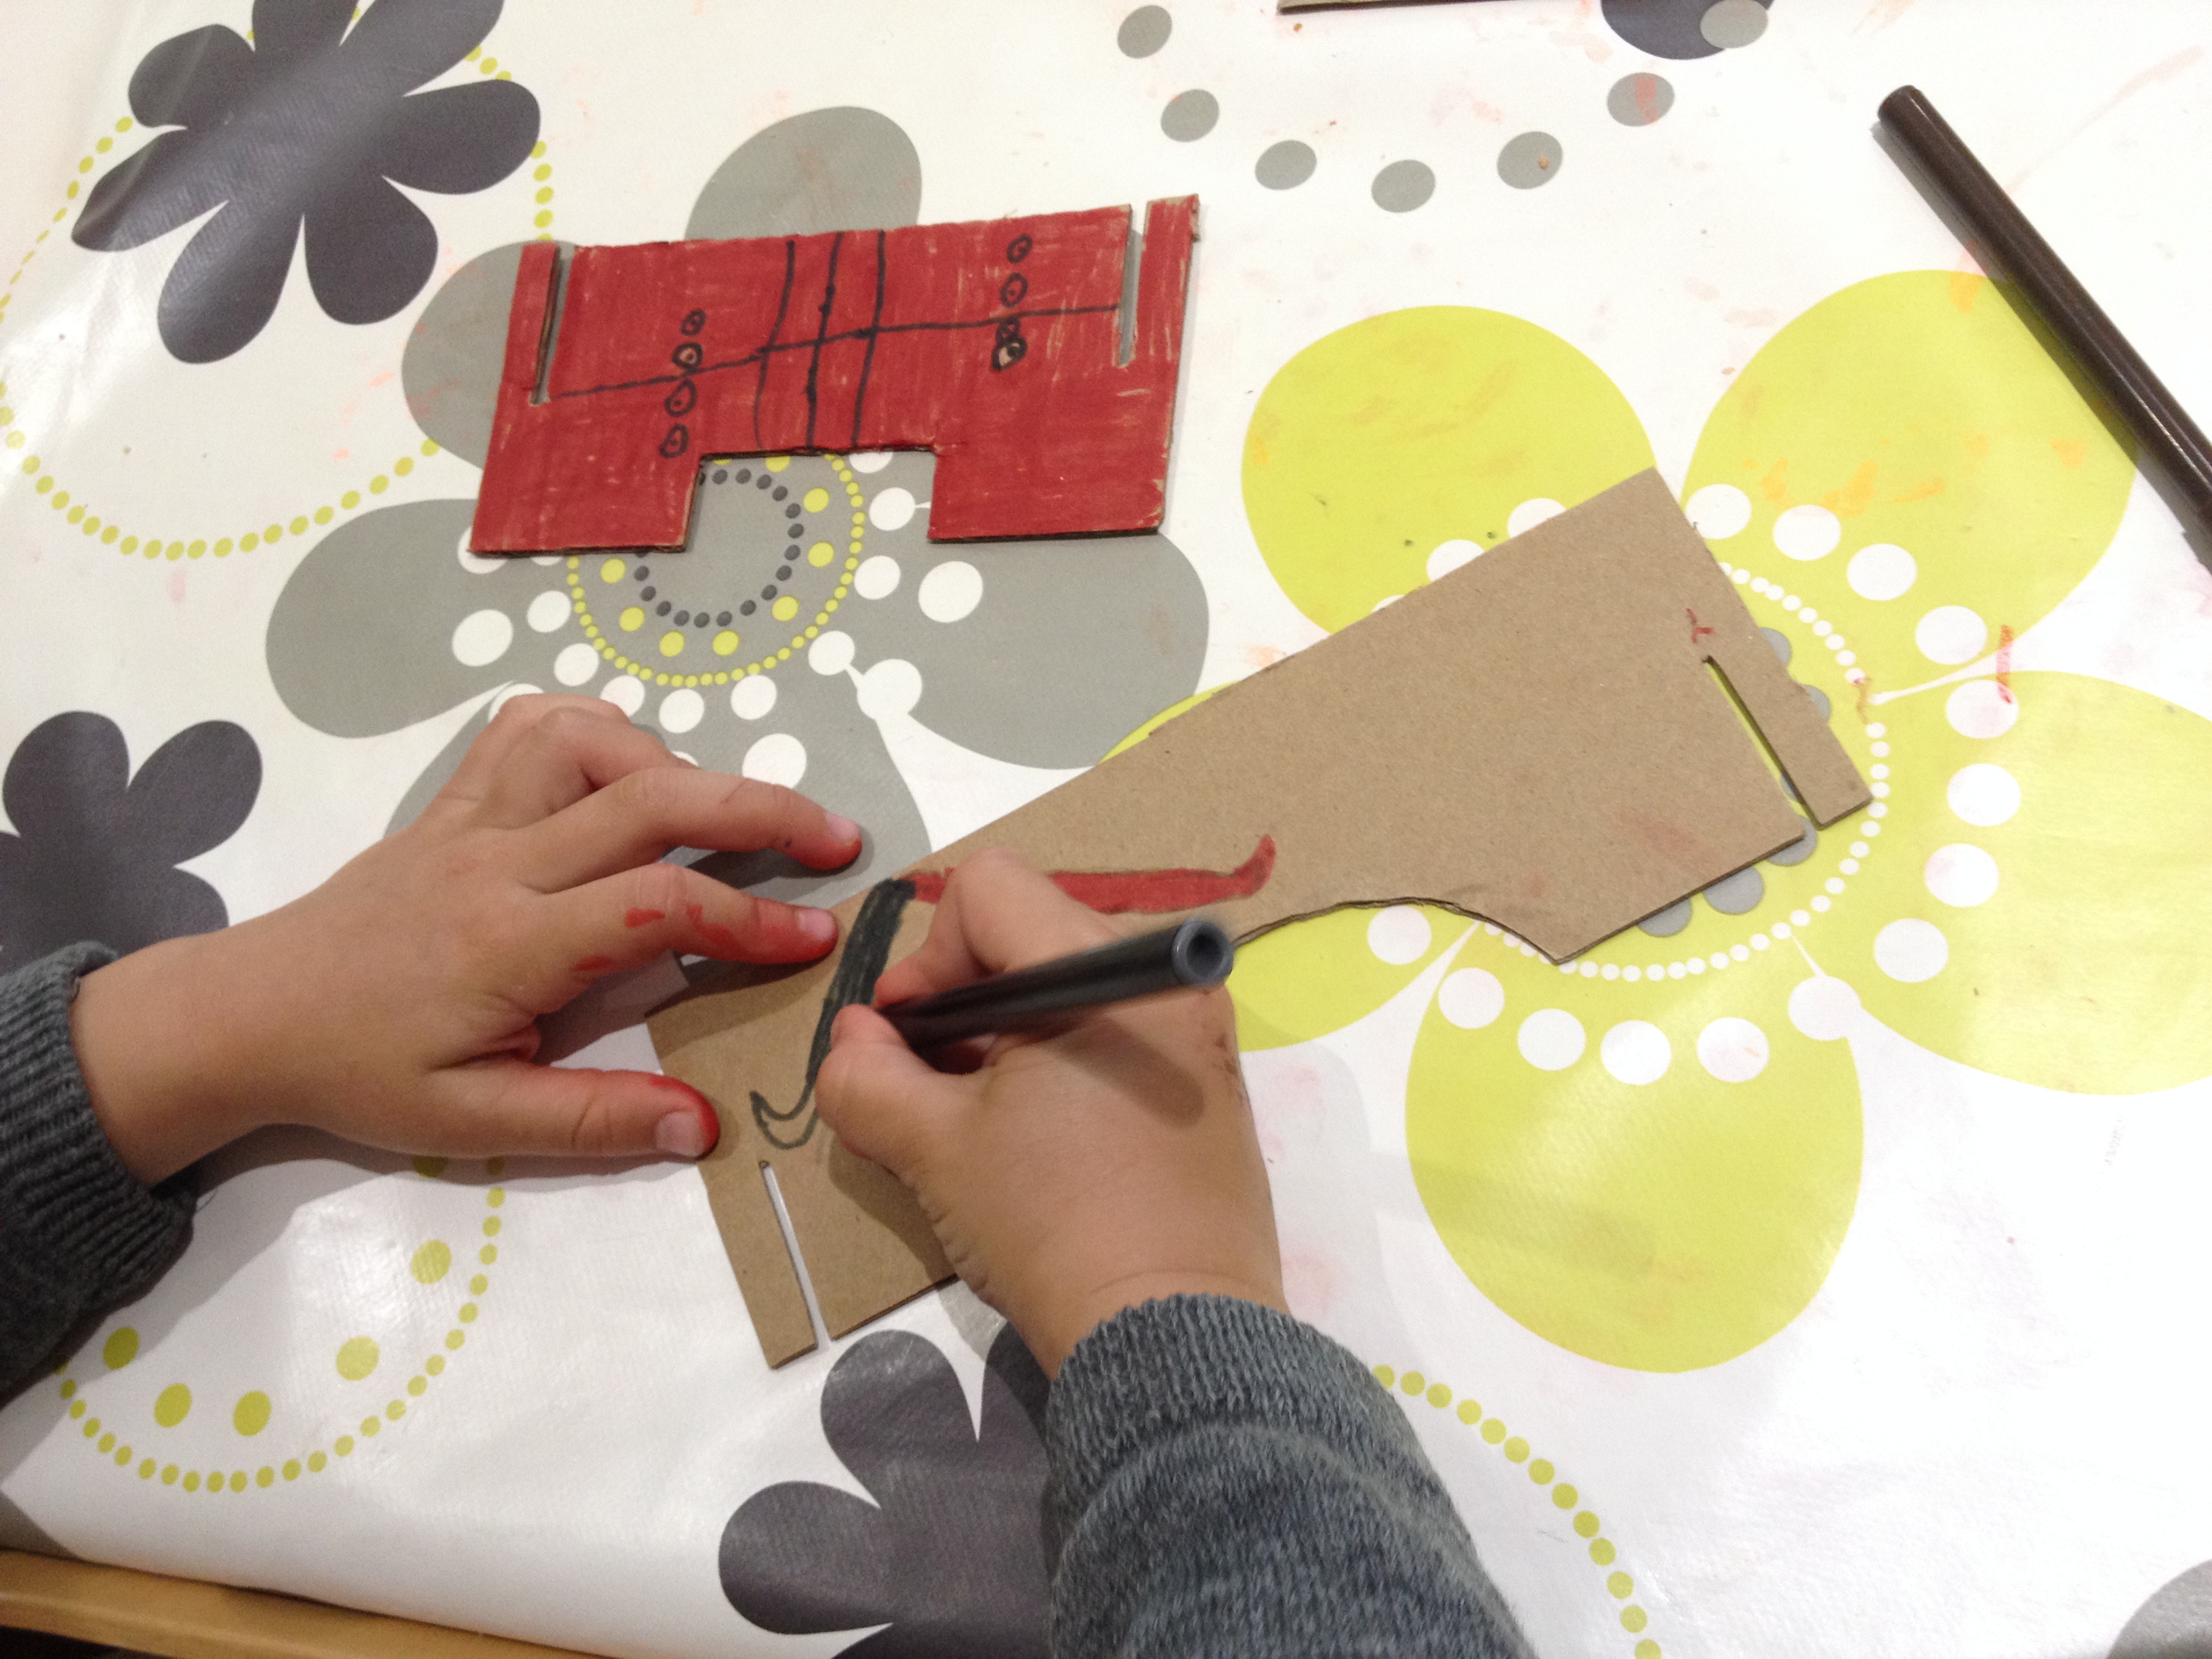
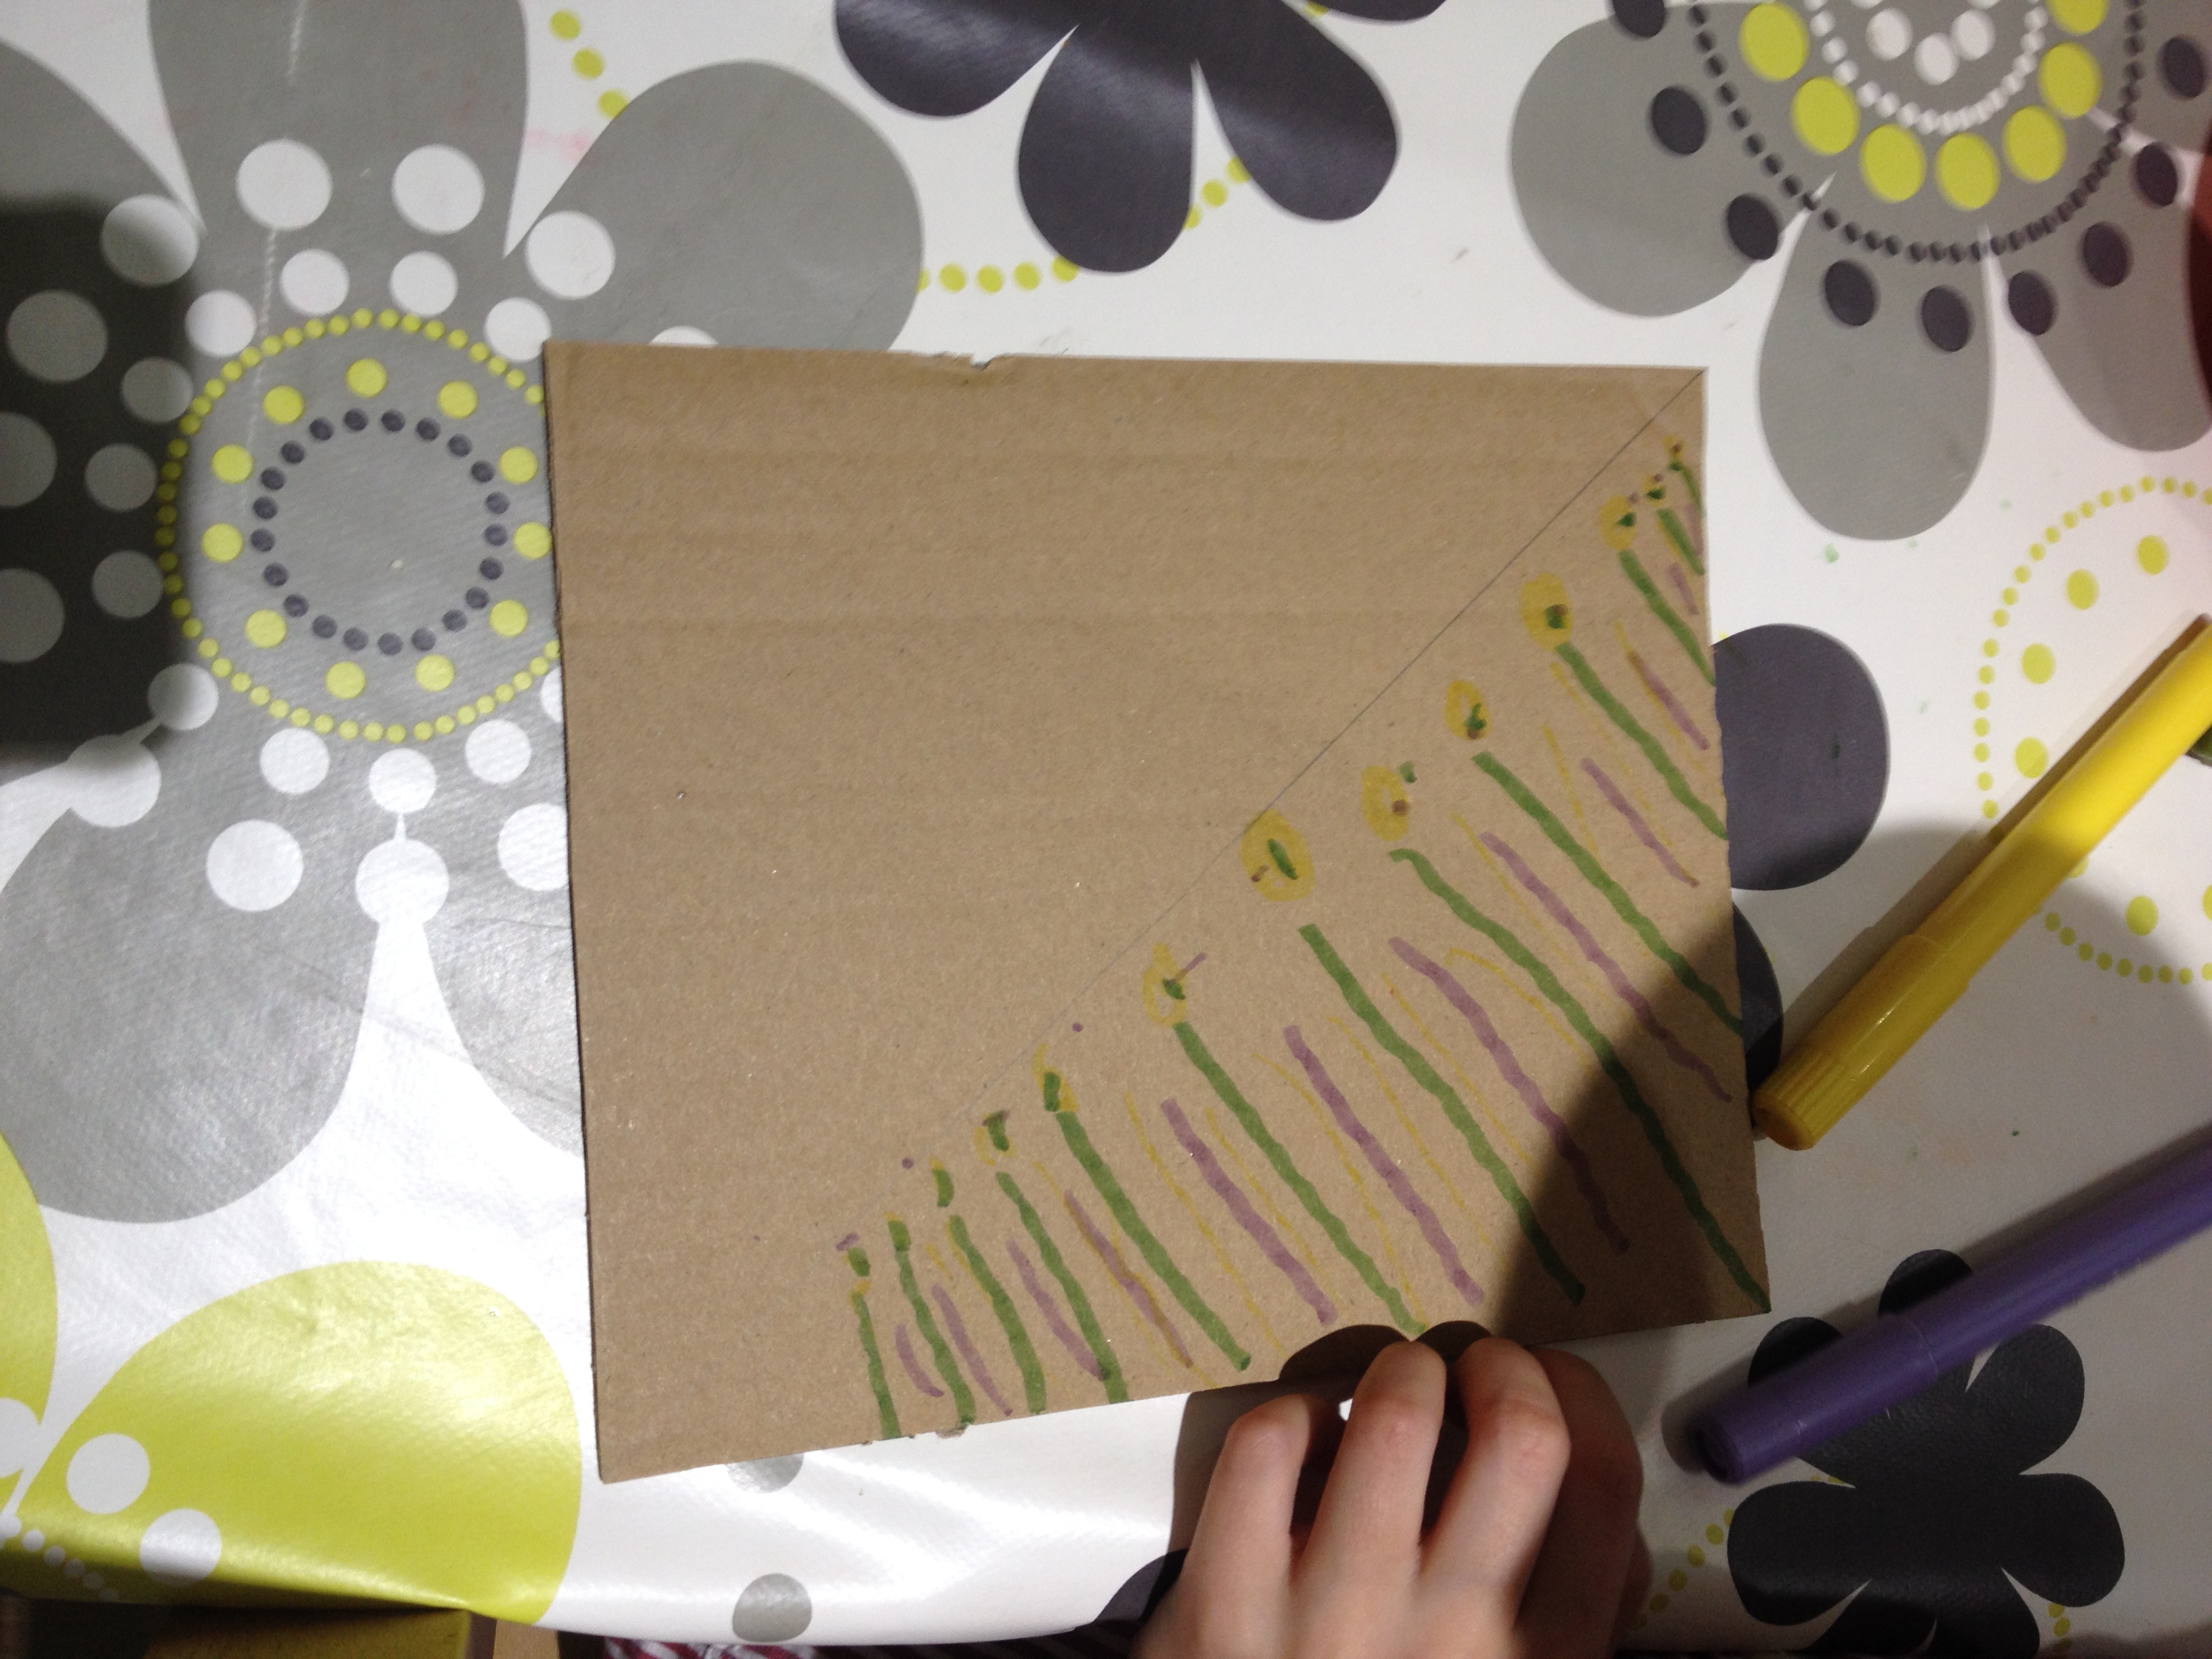
The structure is purposely made of cardboard for it to be personalised by children, and the template can be made very easily at home.
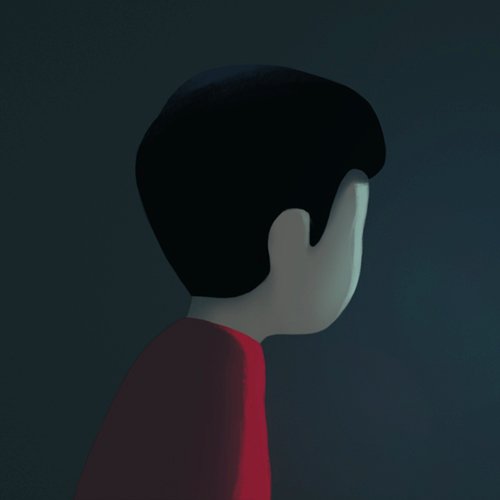
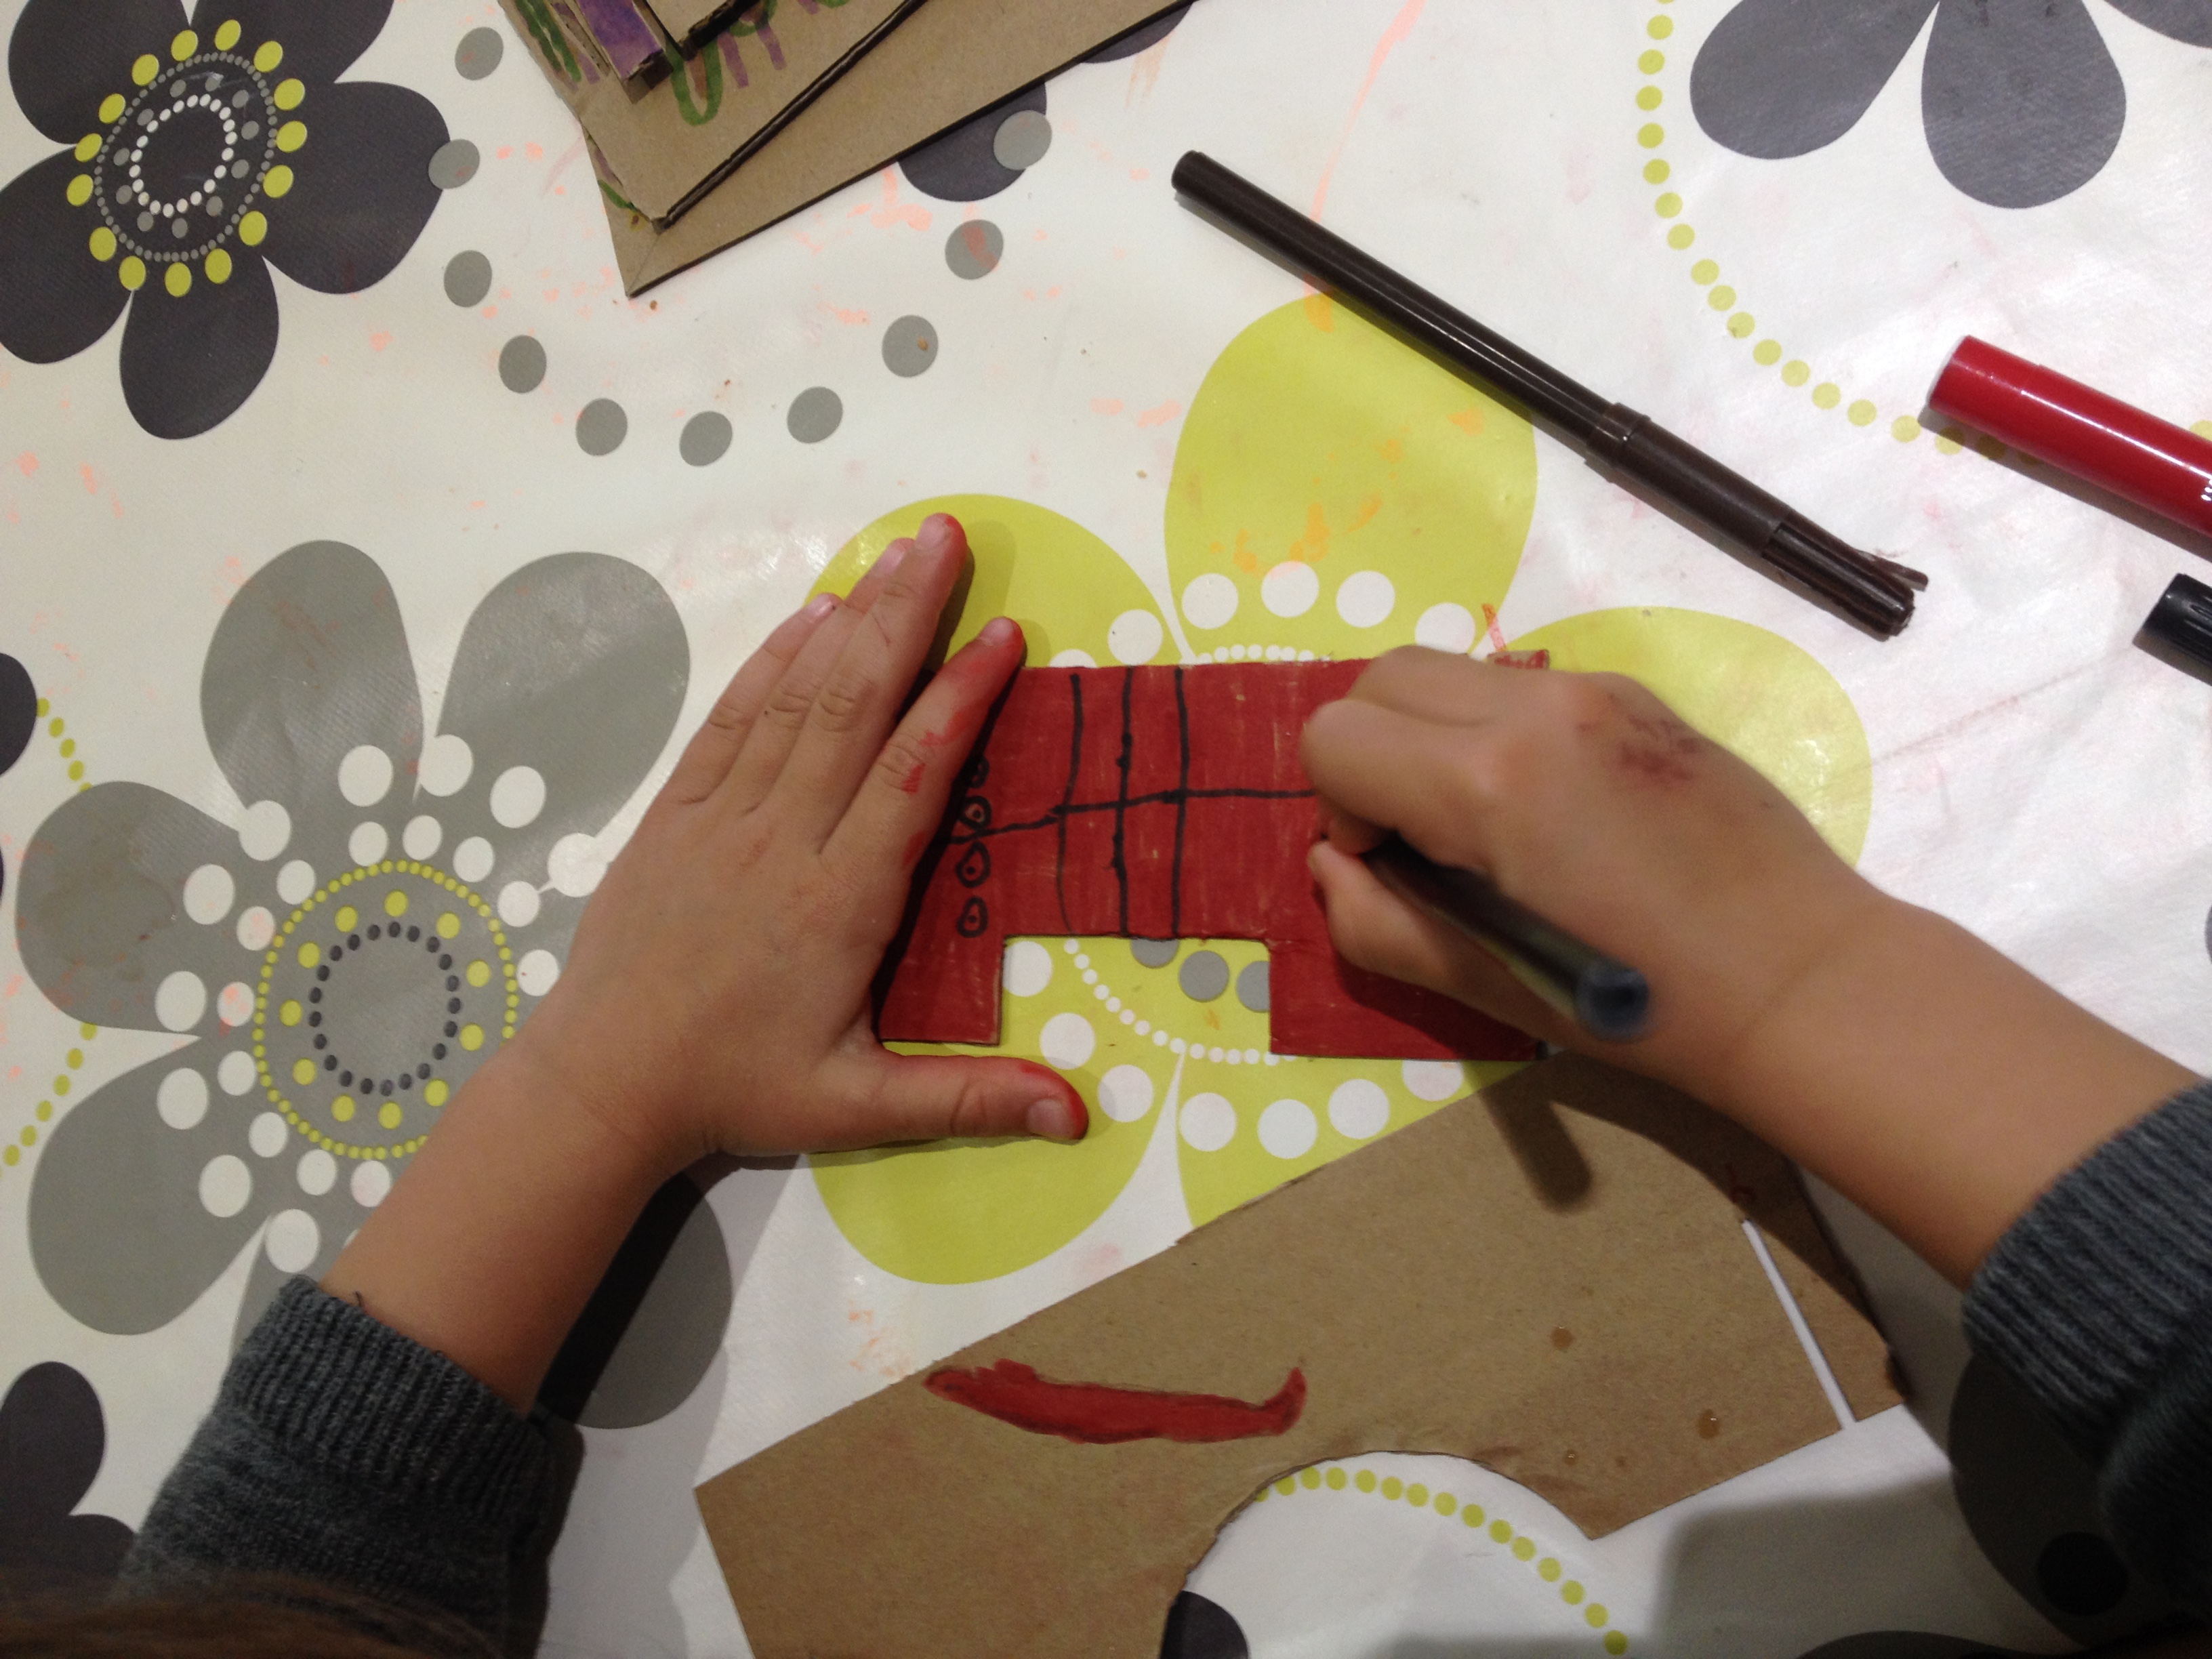
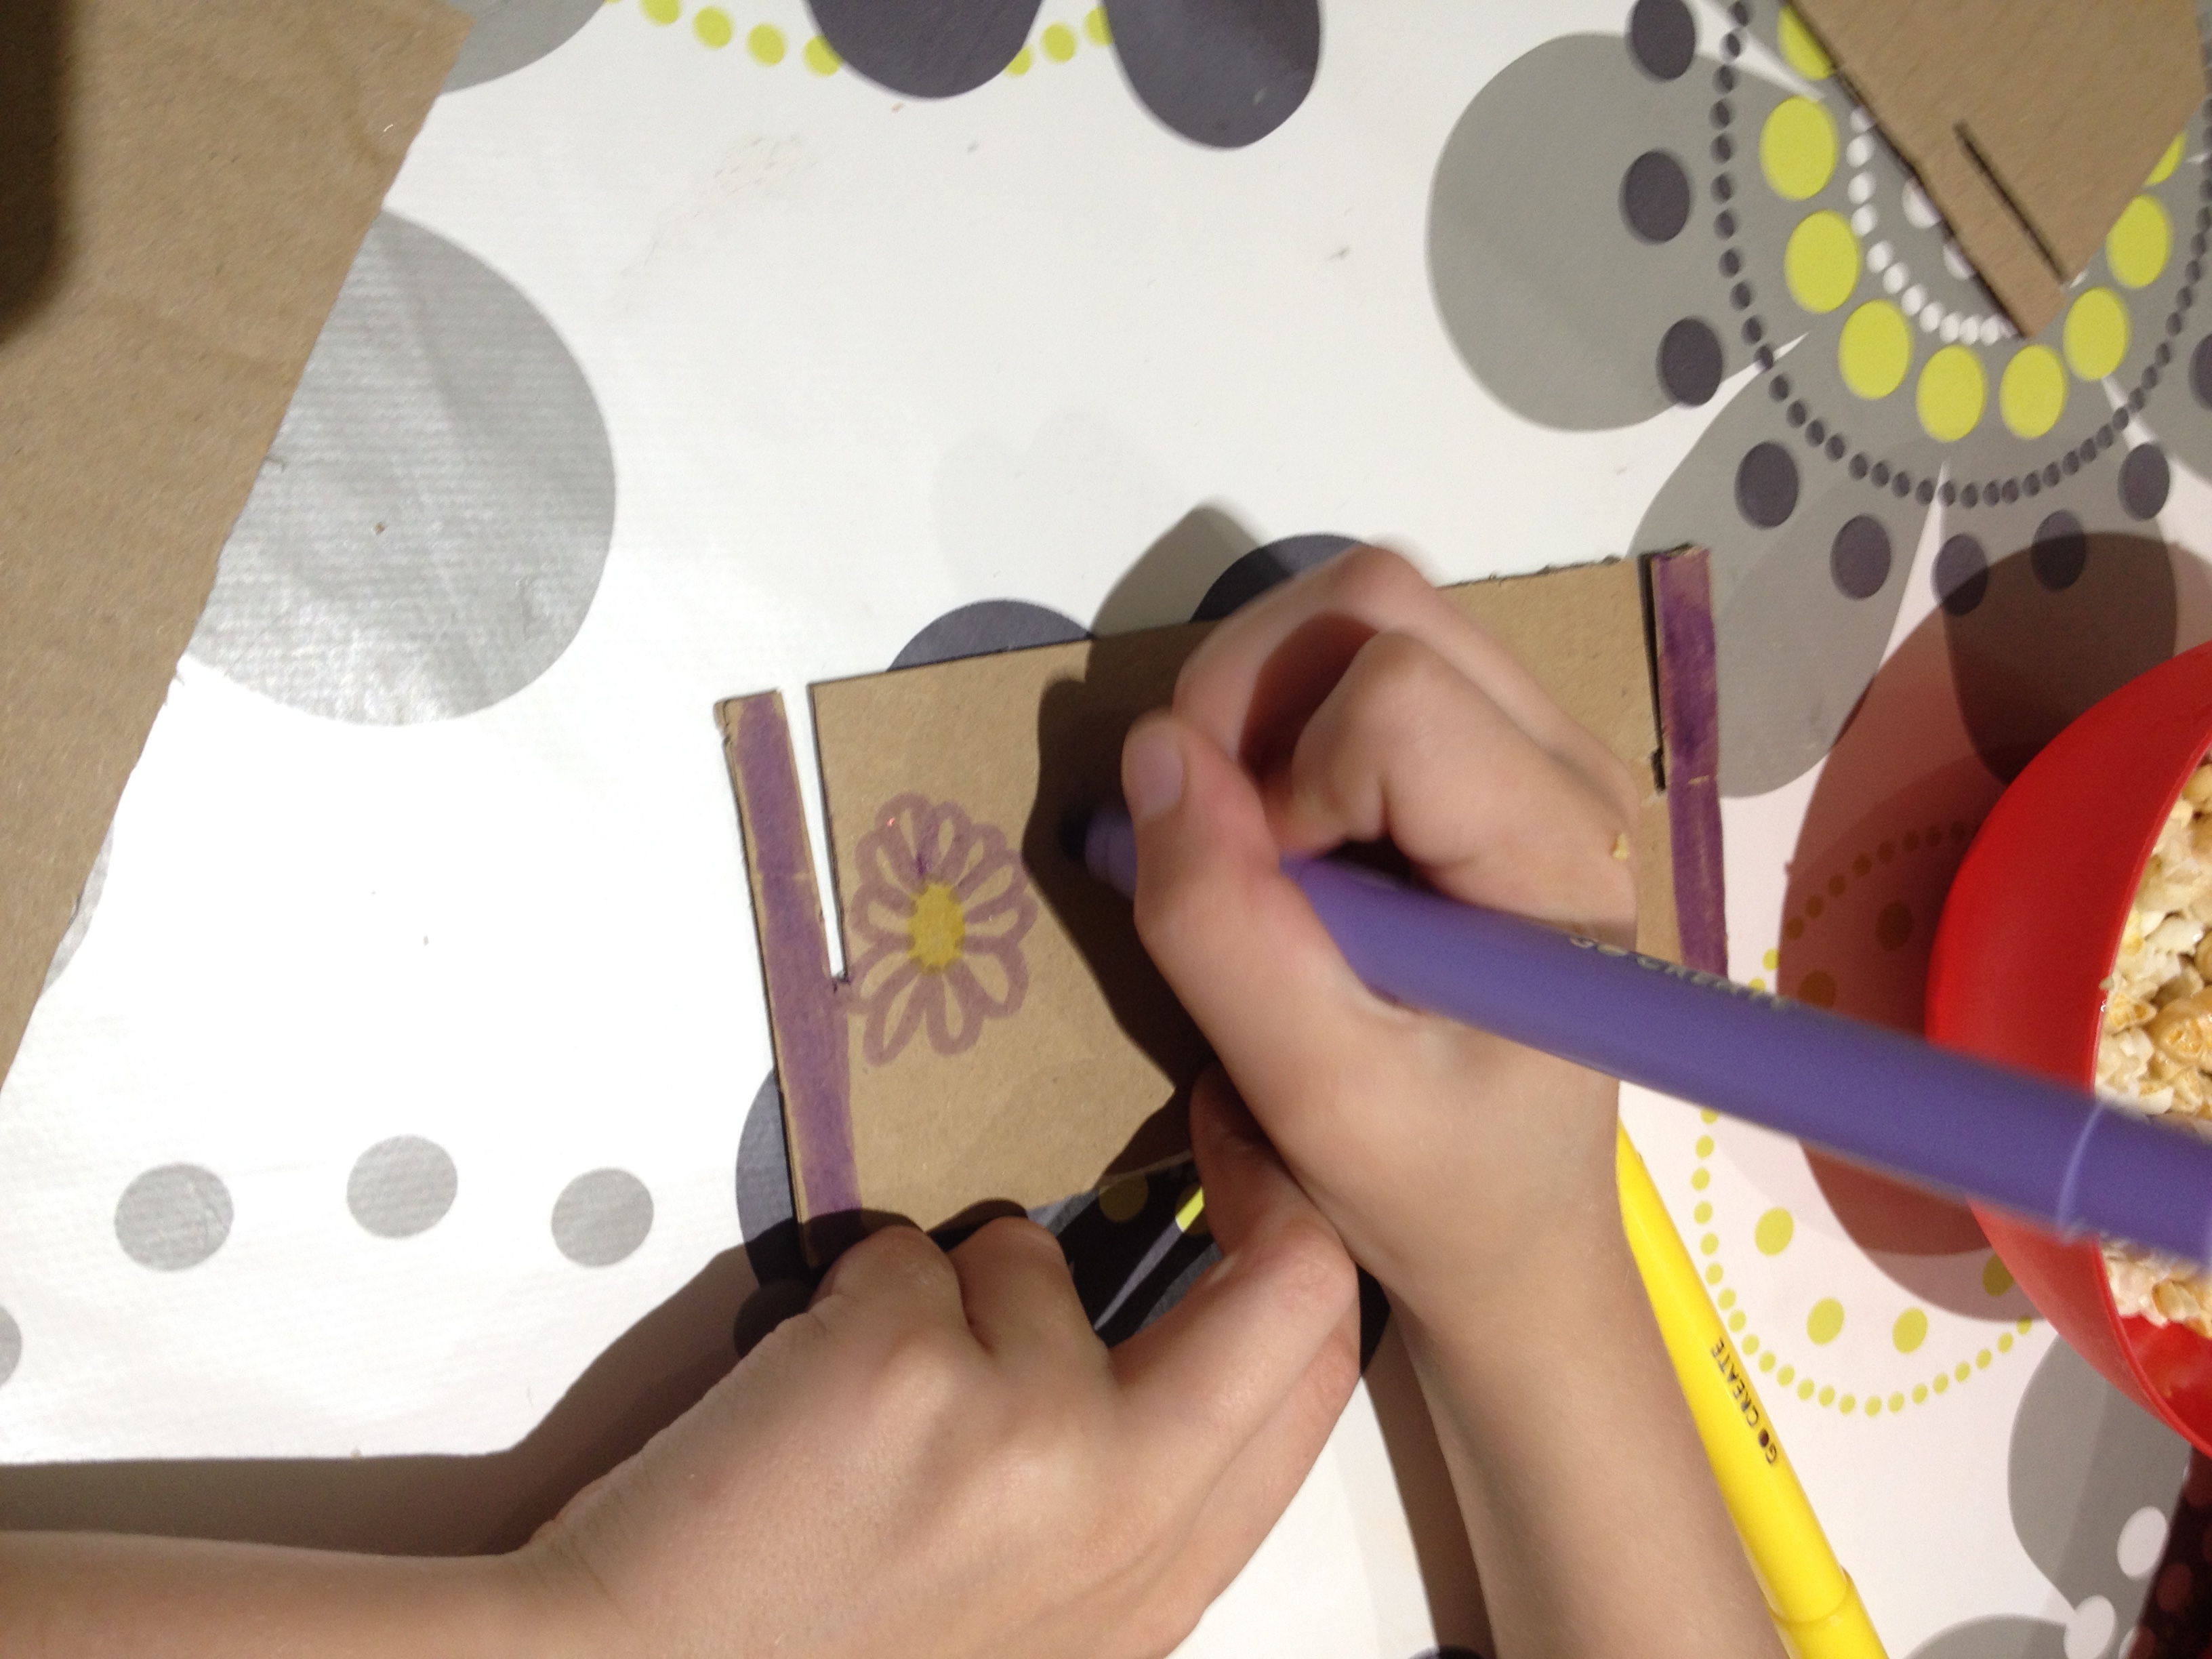
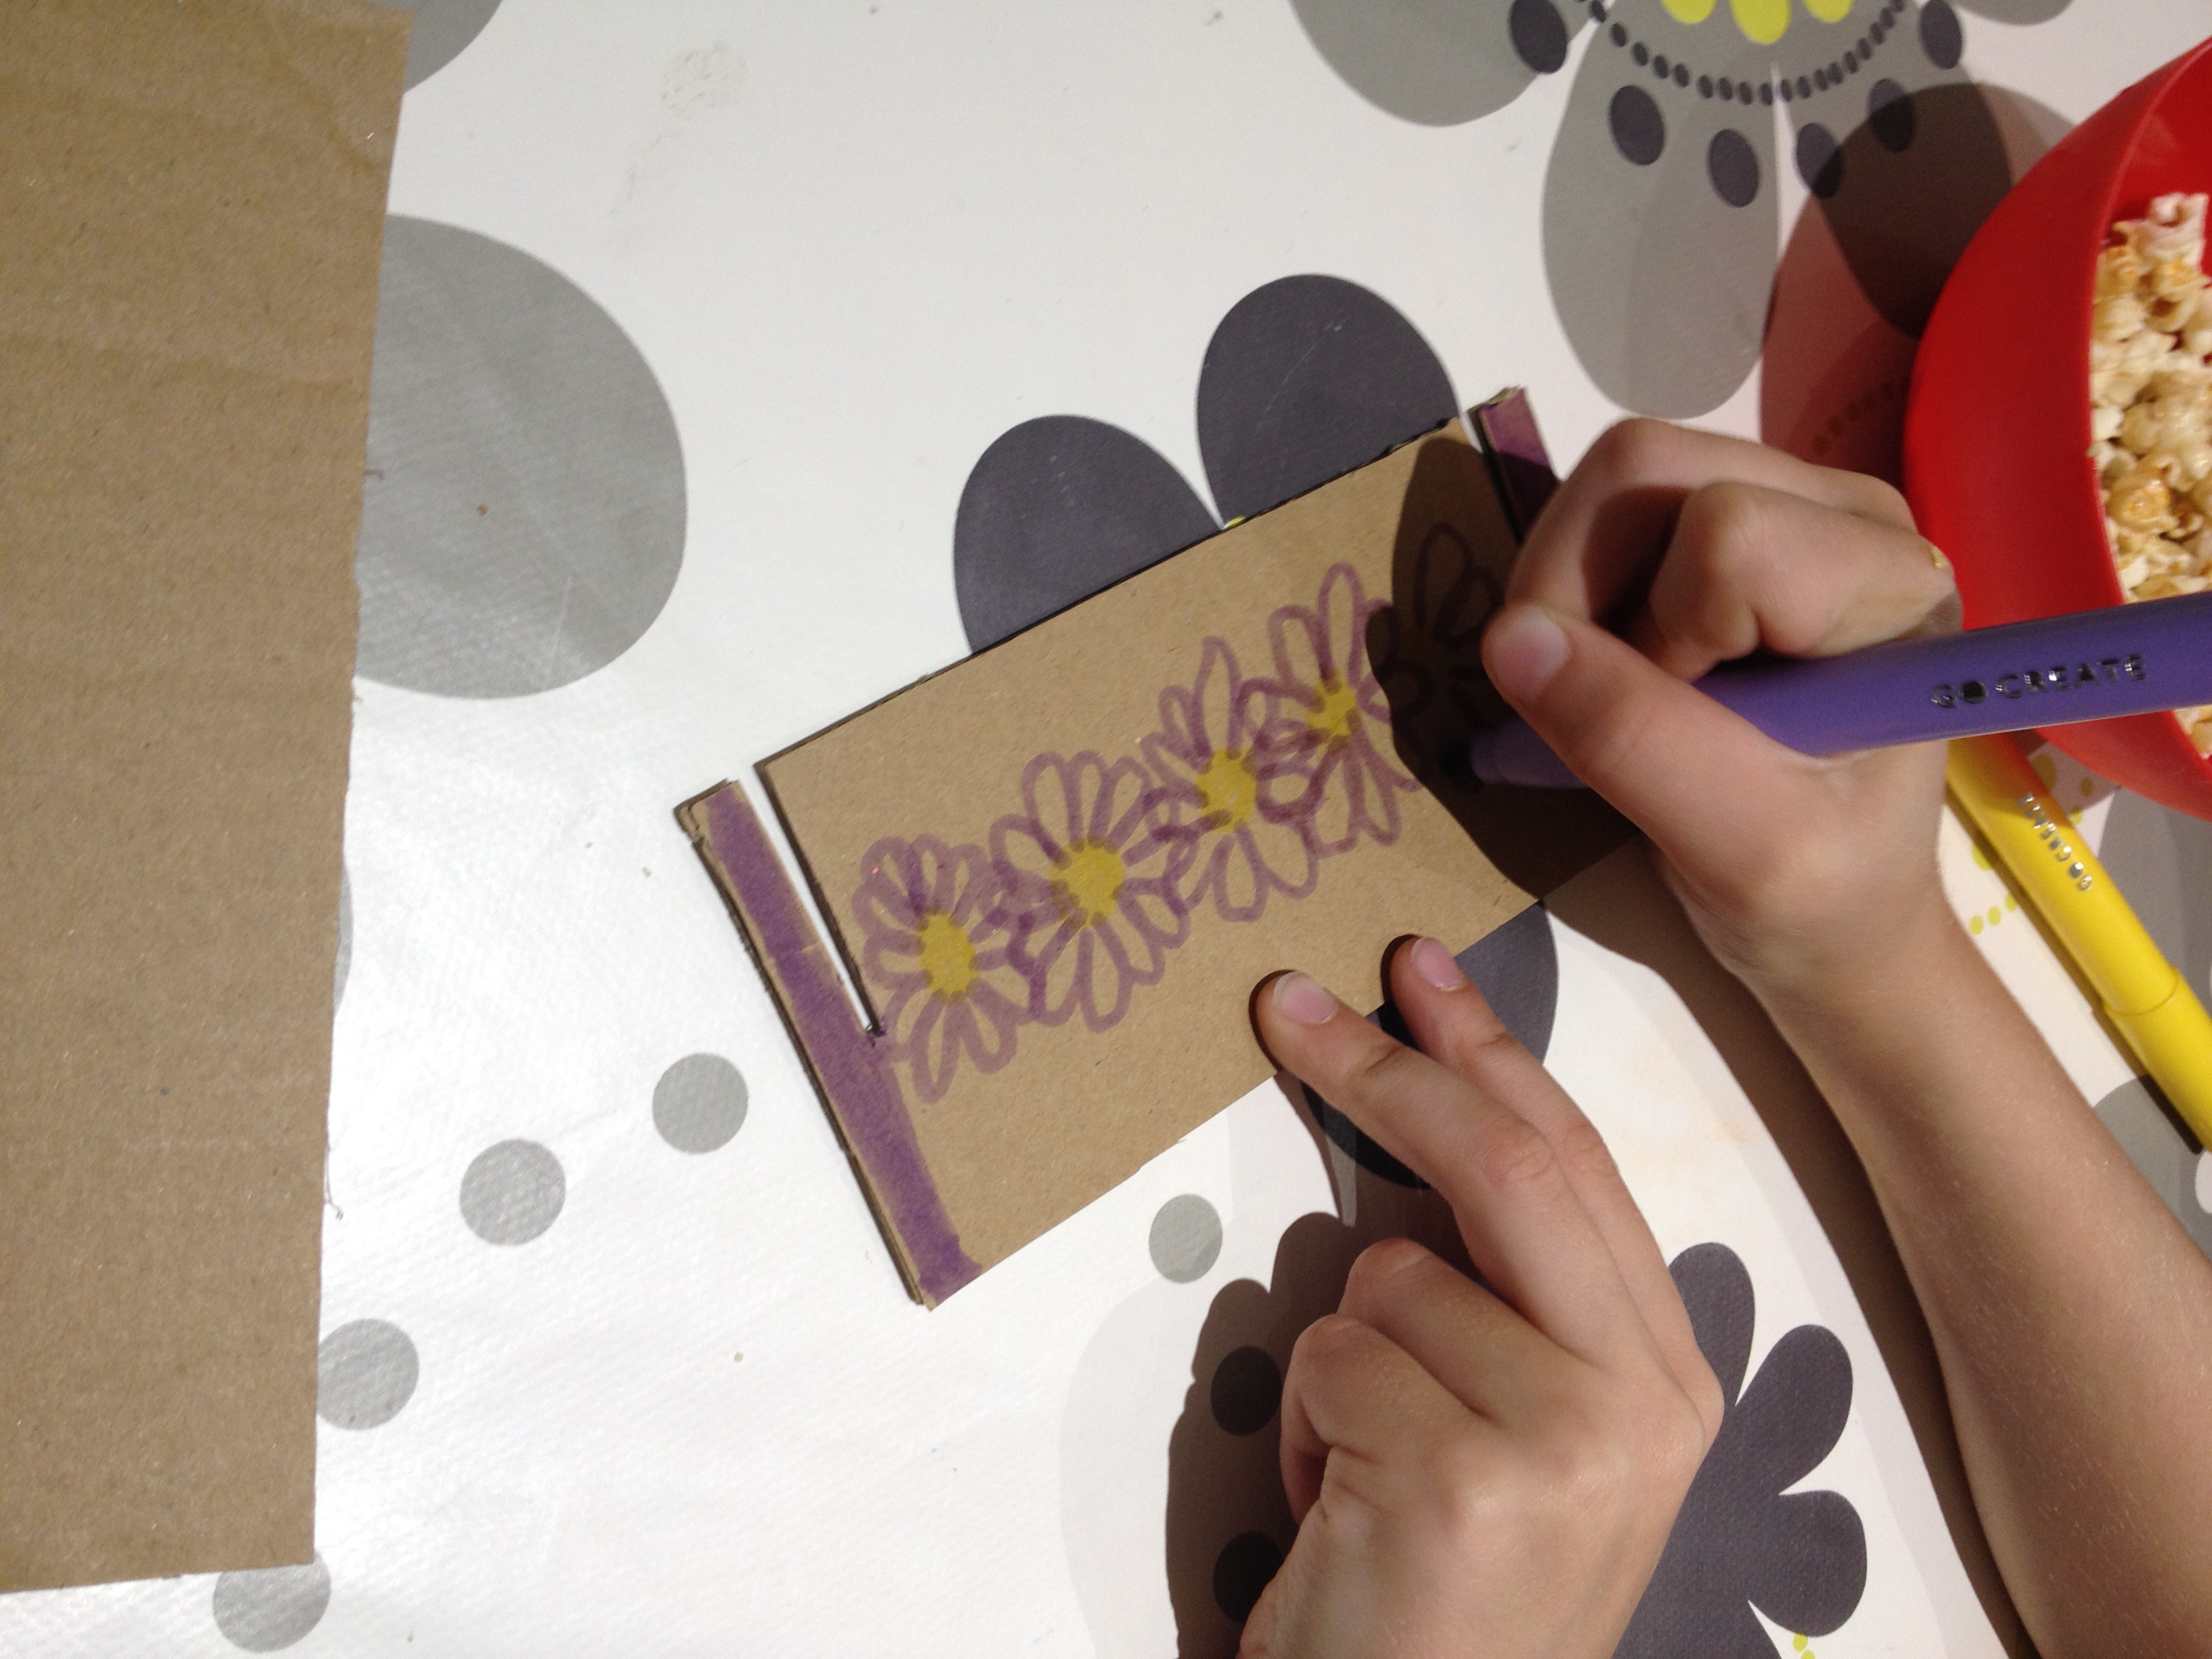
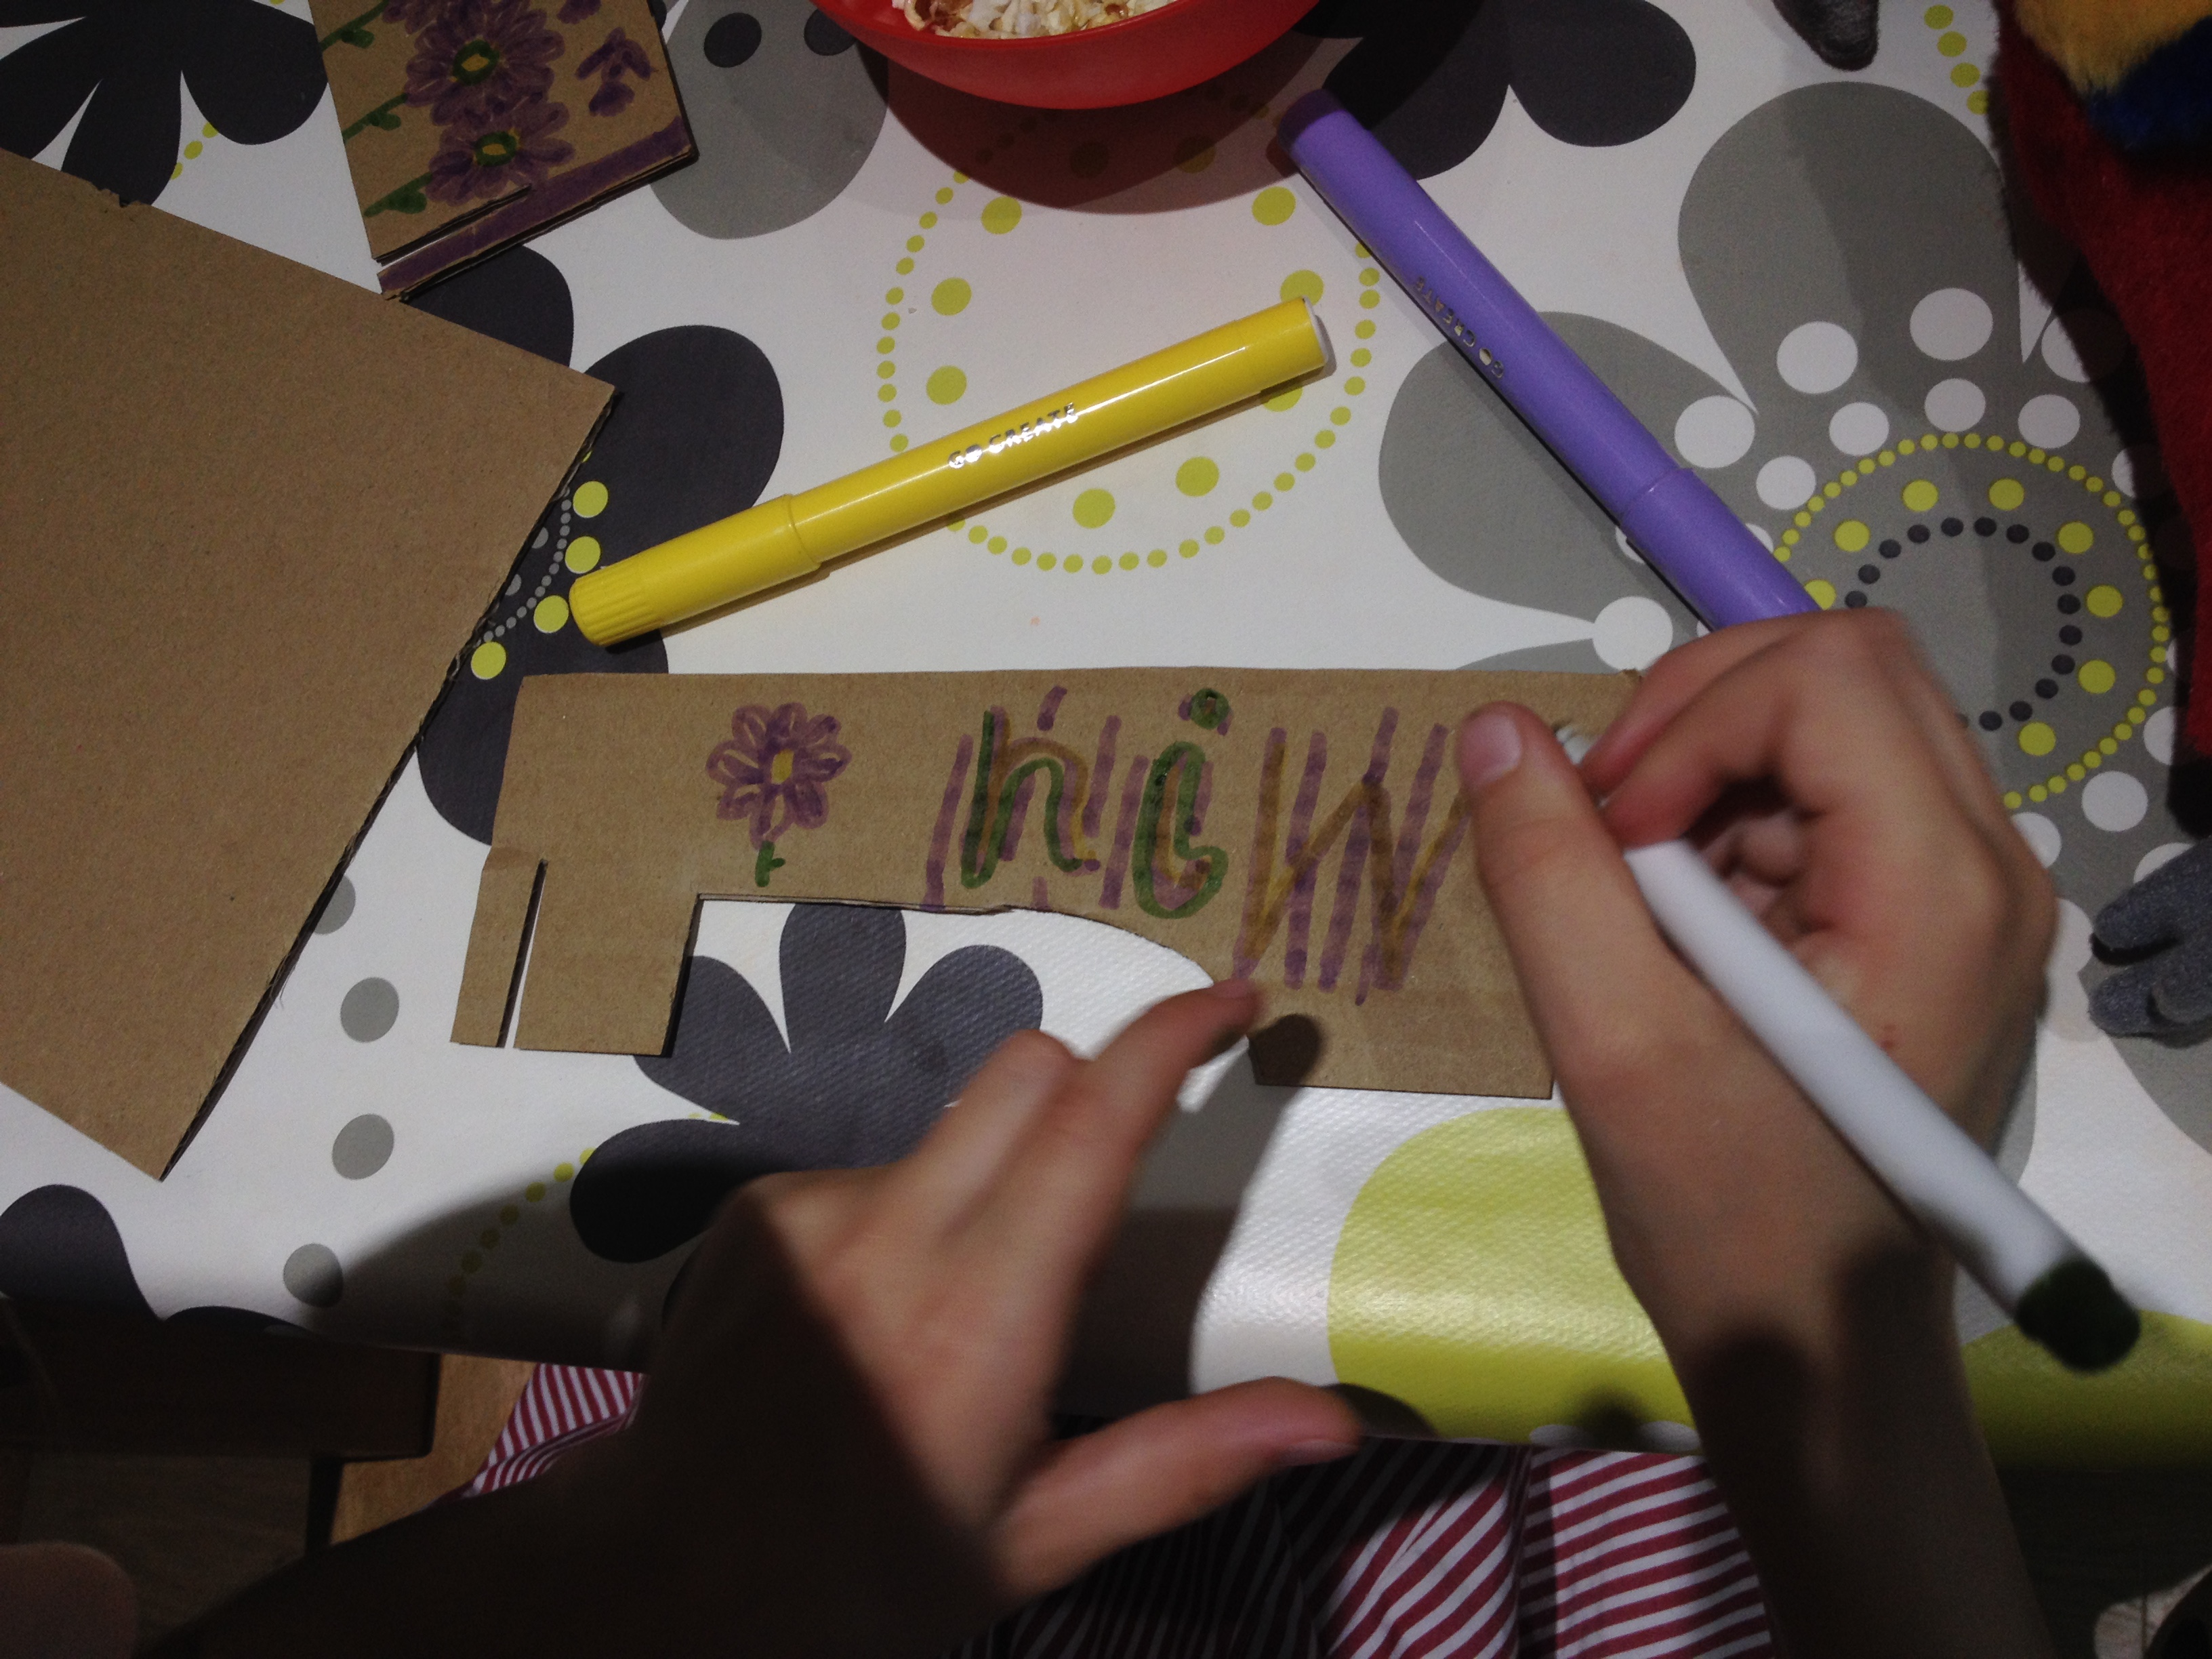
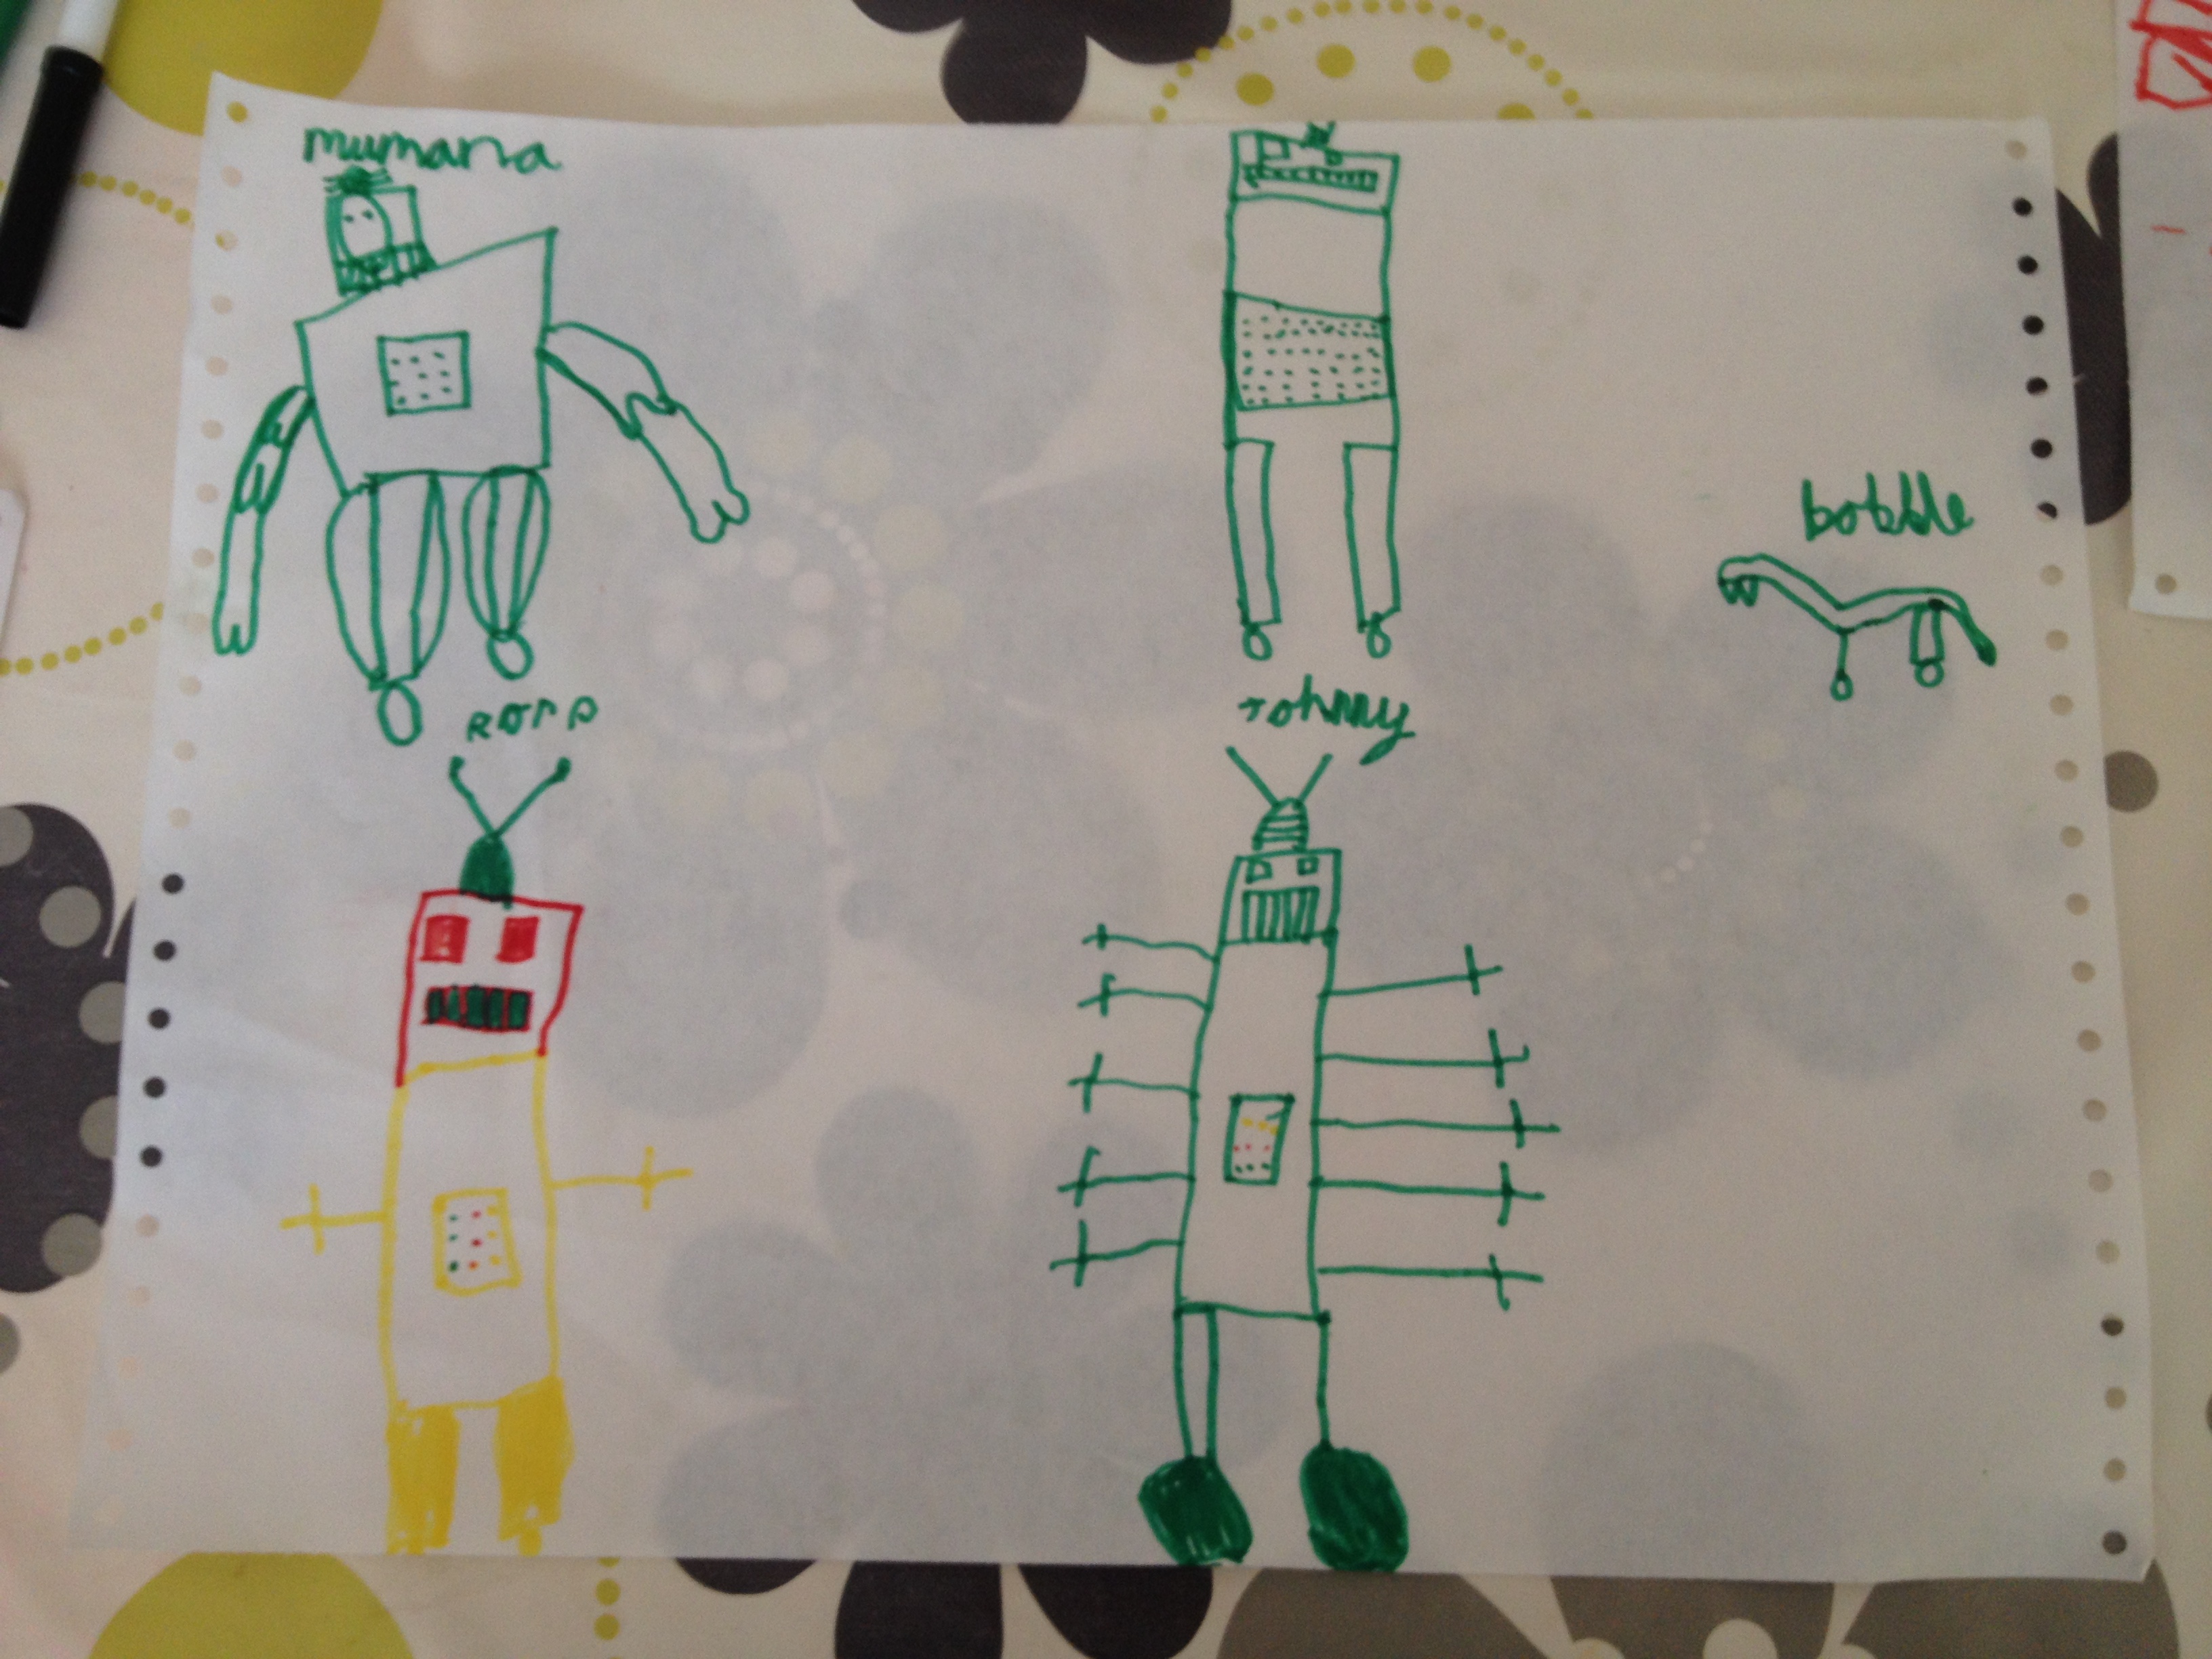
Our own Steve was decorated by Eleanor and Johnny, both Year 2 pupils.
Repository here: http://gitlab.doc.gold.ac.uk/jwan002/creative-projects-17
Intended Audience and Intended Outcomes
Since September 2014, in the National Curriculum, ICT (Information and Communication Technology) has been replaced by Computing.
For many parents and teachers, ‘Computing’ is considered a ‘phase’ that will soon be replaced by a new trend. Most of them still do not fully comprehend why teaching children how to code is so important.
In nearly every job description we come across, mental flexibility, problem solving and logical thinking are seen as basic requisites. Undoubtedly these are skills that can be taught in other subjects, but coding is the only one that teaches them altogether and in an extremely effective way.
With coding, children can build, create, learn and use their imagination; assimilating lifelong transferable skills. [1]
Unfortunately, according to a survey from 2015 by Farnell element, 14, 31% of teachers admitted that they did not feel confident in their ability to teach coding effectively, 42% did not believe that they had received adequate training and support, and 30% did not have access to the right equipment. [2]
Not in every primary school coding is taught from key stage 1 (reception, year 1 and year 2) and, because in the first few years of school ‘play’ is still a huge part of the learning experience, we thought of aiming our product to children of this age range (4 – 7).
Our intended outcome was to create a toy robot that follows basic instructions and would help children learn the very basics of coding and teach them lifelong skills.
We would have liked for the robot to have a target to reach and for it to be controlled via a visual interface where the child would be able to assign a set of instructions to the robot and then press a play button to make it move towards the target.
We wanted for our product to be as inexpensive, customisable and accessible as possible, and we also aimed to create a gender neutral toy that gives children the possibility to create their own character, rather than just give them a premade one.
For the structure, the idea was to create a template (or more than one) and make it available for parents and teachers to download, so they could use their recycling to create their own resources. This choice would have also allowed them to let the children be creative in decorating the aspect and building the “personality” of their own little robot.
We intended to involve the children as much as possible in the creation process as it is them who are going to be the final users of this product and we want them to feel more interested and engaged in the subject they are learning.
Background Research
Although the United Kingdom has a rich history in computing, programming was largely ignored in the education system, even during the explosive growth of both computing and the internet in the mid 1990s. For a long time,a schools focused on teaching students on how to write a Word document rather than write their own code. [3]
Other countries around the world had already made steps to introduce Computer Science into their curriculums long ago; Estonia in particular had already been teaching it in primary schools since the 1990s and Israel doing the same at around the same time, with Israel having the most rigorous computer science high school programme in the world. [4]
It was only recently where the UK had begun to realise the importance of coding, in particular in teaching the younger generations how to code. As well as the recent push of introducing Computer Science to the National Curriculum, organisations such as “Young Rewired State”, “Code Club”, and “Code Academy” were formed in order to help young people learn how to code. [5]
According to Bethany Koby, founder of Technology Will Save Us, the toy industry is “one of the most powerful industries in the world” and believes that they can “shape and mould some of the most important early years of people’s lives through education, play and new experiences.”. [6] In addition, a research conducted by games and jigsaw manufacturer Orchard Toys reveals that, during the Christmas shopping season, educational toys were “overwhelmingly preferred” by almost three quarters of parents asked in the survey.[7] These educational toys can be referred to as “STEM” (Science, Technology, Engineering and Mathematics) toys, which help promote learning through fun.
Our research focus is on the physical resources available for parents and teachers to teach their children and/or pupils how to code.
From our research, we have seen that a lot of the products already on the market lack in certain areas.
The majority of them are very expensive resources that are certainly prohibitive for most parents, who may still be hesitant to invest in the more expensive STEM toys following the economic recession (the Toy Industry Association in the US noted a “steep decline” in sales of STEM toys during this time, and this would have no doubt have affected the UK as well. [8]) Others are very limited in possibilities and not very customisable in terms of design and code. In addition, most of the resources may seem, to a parent or teacher, unaccessible for them. Others may not seem fun or creative for the children, and parents/teachers may worry they would get easily bored by them. Some parents remain skeptical about the benefits of educational toys, with one mother of two children writing a book which comments that educational toys are “overstated at best and unfounded at worst” and “do not help”. [9]
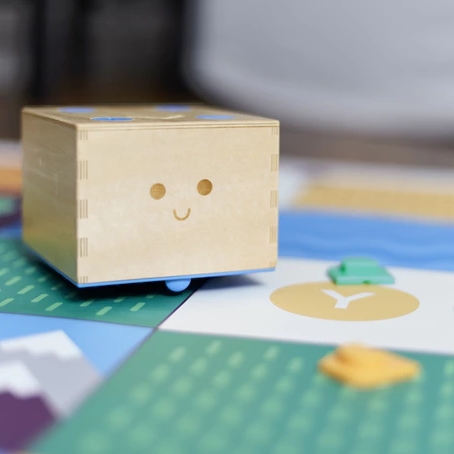
Cubetto
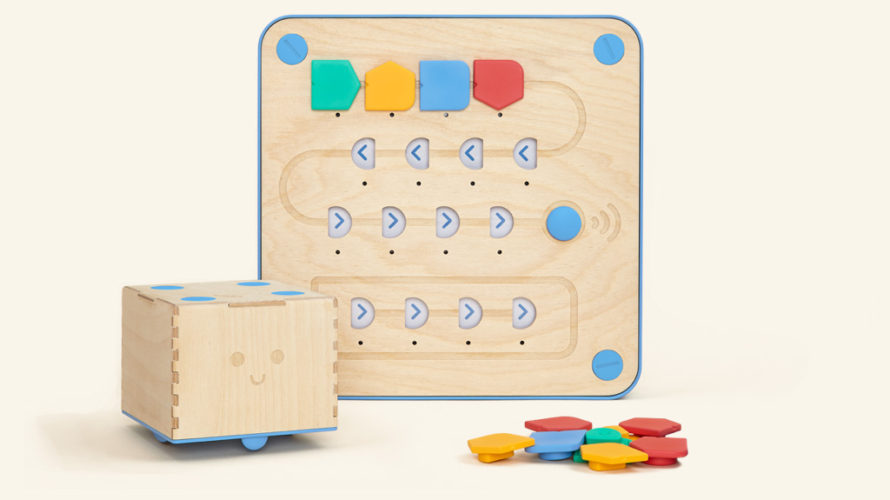
(Click image for more info and video)
Cubetto is a wooden robot that is controlled by a control board, where children place “coding blocks” onto it to create a series of instructions for Cubetto to perform. They allow the robot to move in various directions, as well as perform a function. It also comes with a map and “adventure book”, that allows the children to apply their skills into an adventure scenario where they must help Cubetto navigate to various squares on the map. It mainly targets pre-school children to code “before they can read”. However, Cubetto’s Arduino brain allows custom programming, providing opportunities for older children and adults.[10]
The addition of roleplay is a fun and effective way to engage the children to learn coding, and the design of both Cubetto the robot and the maps and stories are very appealing to the target audience. Its only drawback is that it is very expensive (around £160 for the cheapest option), making it inaccessible to many families.
Code-A-Pillar
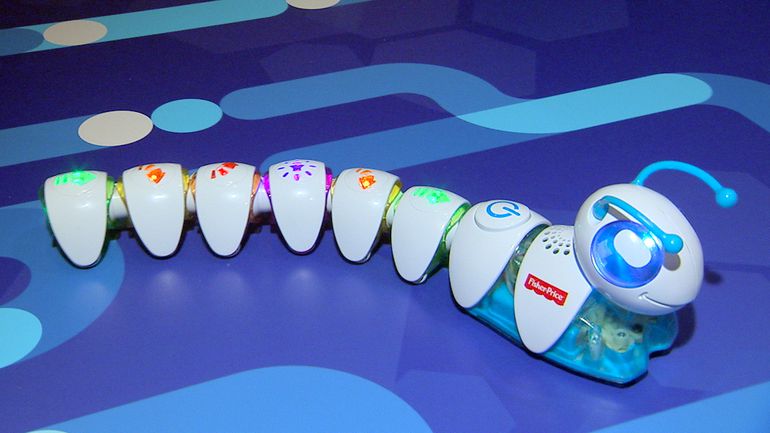
(Click image for more info and video)
Code-A-Pillar is a toy caterpillar that uses removable segments to create instructions for the toy to perform. The standard package comes with various directional and sound segments, but extra segments (some of which aren’t included in the standard package) can be purchased as “expansion packs”. The product also comes with two discs to represent “destination targets” for the toy to get to.[11]
While this is one of the cheaper options for parents (around £40), it is also very limited in terms of replayability as it only involves switching around the segments and setting basic targets for the caterpillar to move to.
Cubelets
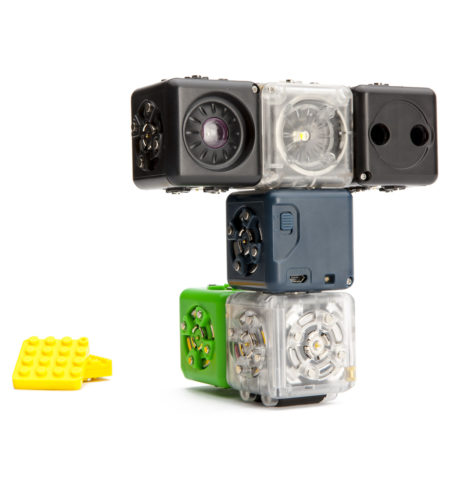
(Click image for more info and video)
Cubelets are sets of cubes that can be built together to make a robot. There are many different cubes available, each with specific functions including, but not limited to, drive, brightness sensors and a speaker. There are many different possibilities of robots that can be built with these cubes, and the cubes themselves can have custom code provided by the “Cubelets Blockly” software. In addition, while children as young as 4 can experiment with Cubelets, the potential complex designs that can be made also makes it appealing for older audiences.[12]
Like Cubetto, the main drawback is the price; a pack of 6 cubes already costs £130 which is far too expensive for most families.
LittleBits
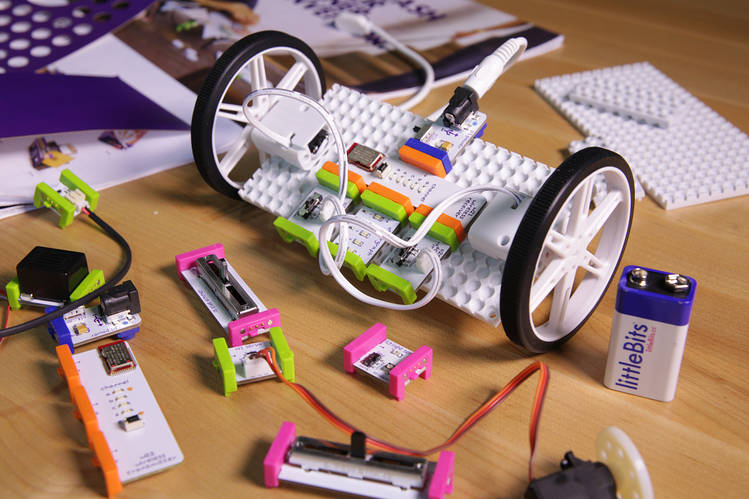
(Click image for more info and video)
LittleBits makes use of a combination of the provided electronic building blocks and other materials to allow the creation of many things, such as a robot. Parts comes in sets, which contain various pieces to help craft one’s invention including the “buzzer”, “makey makey” and sound triggers
Like some of the other researched products, LittleBits is also expensive, although not as expensive as Cubetto or Cubelets at just over £80.[13]
Creative Process
In terms of the software, we looked at Scratch (a coding language often used to teach children how to code) for ideas on how to present and structure the interface. The initial ideas of having a drag and drop function for the command blocks stemmed from Scratch. We thought that it would have been a good idea to take inspiration from an existing example of software that teaches children how to code, so that they could easily adapt to our software.
We knew it was important to present the interface in a way that would appeal to our target audience. Elisabetta happened to have programmed a similar program before, so it was decided that the software would adopt a similar design. The design was both simple and colourful, and was sure to appeal to our intended audience.
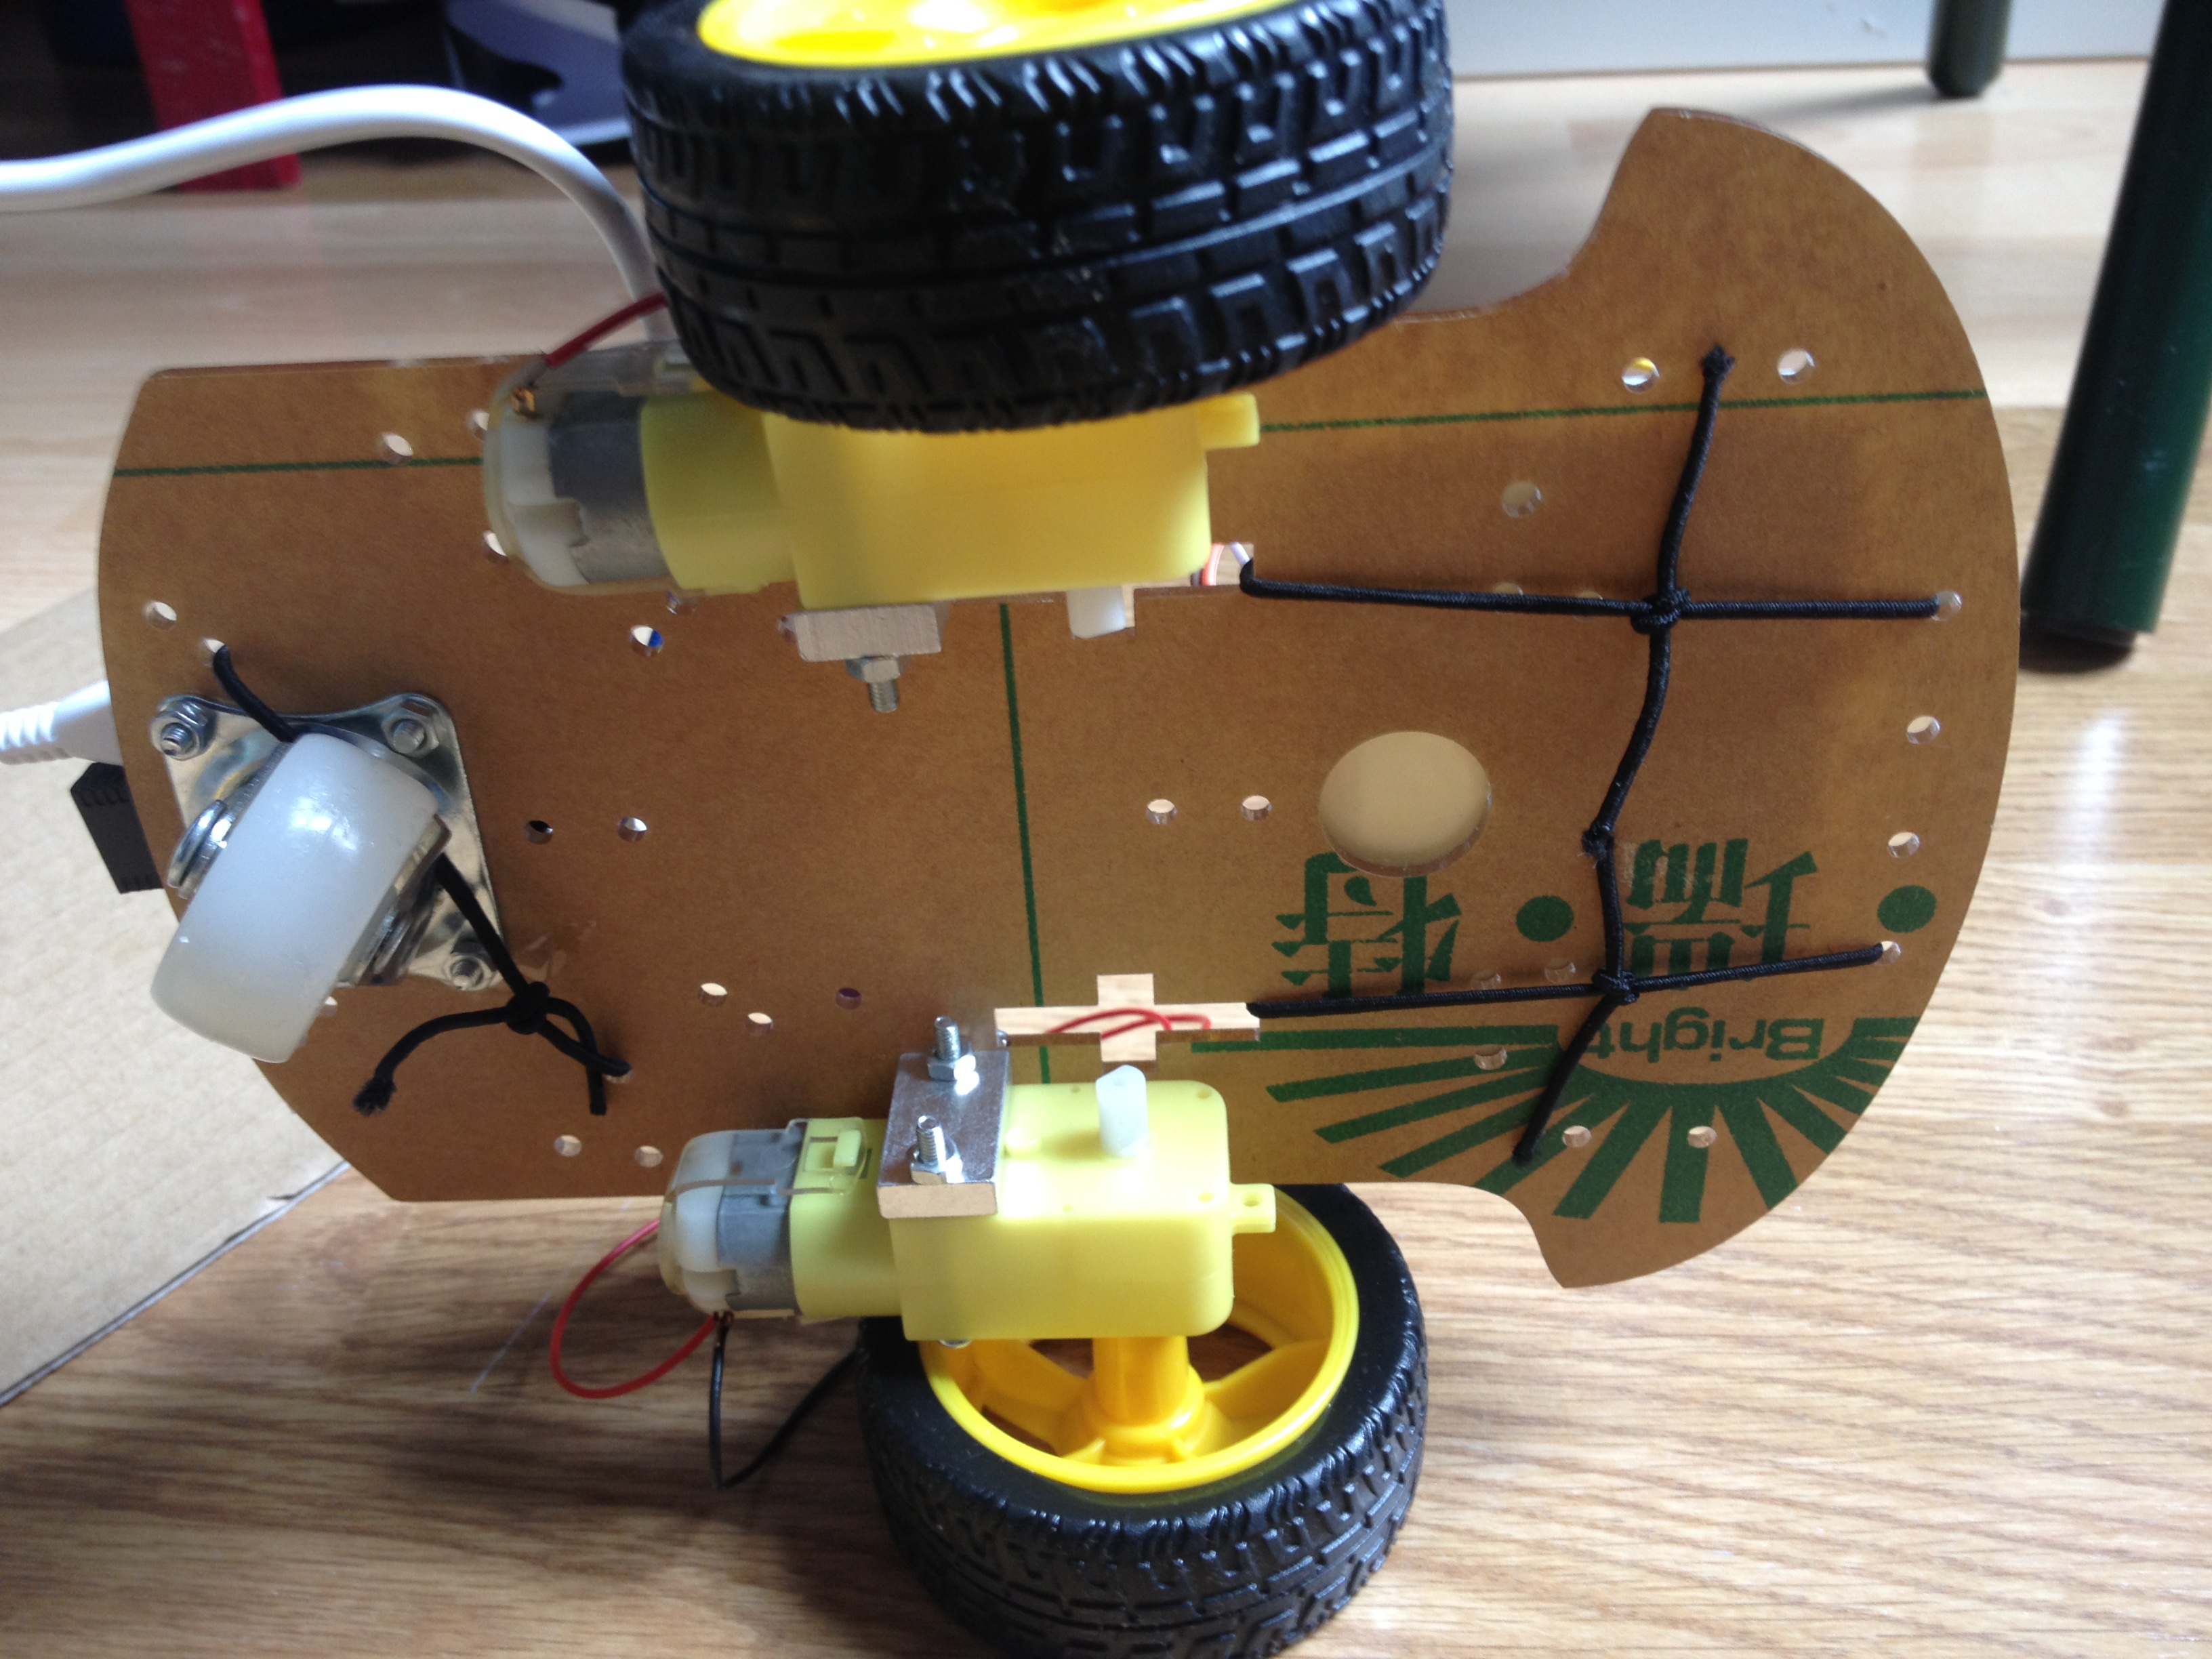
We wanted the structure to be easy to build, inexpensive and customizable by children and we wanted to create everything, including the wheels, from scratch, using materials anybody could find in their recycling bin.
We started by thinking about the hardware we wanted to use and we agreed that the £5 Raspberry Pi Zero would have been the cheapest solution.
Unfortunately, not knowing enough about electronics and motors in particular, we had decided to buy a pre-made base and wheels to accelerate the process, which made our final product a bit more expensive than what we expected to achieve.
For the structure we wanted to create a template that was easy to create and to decorate and we took our inspiration from the kits sold by Technology Will Save Us[14] and the 01Lamp[15], a cardboard desktop lamp by Fattelo that can be made out of a pizza box.
Cardboard was our first choice both for the possibility to customize it and its availability.
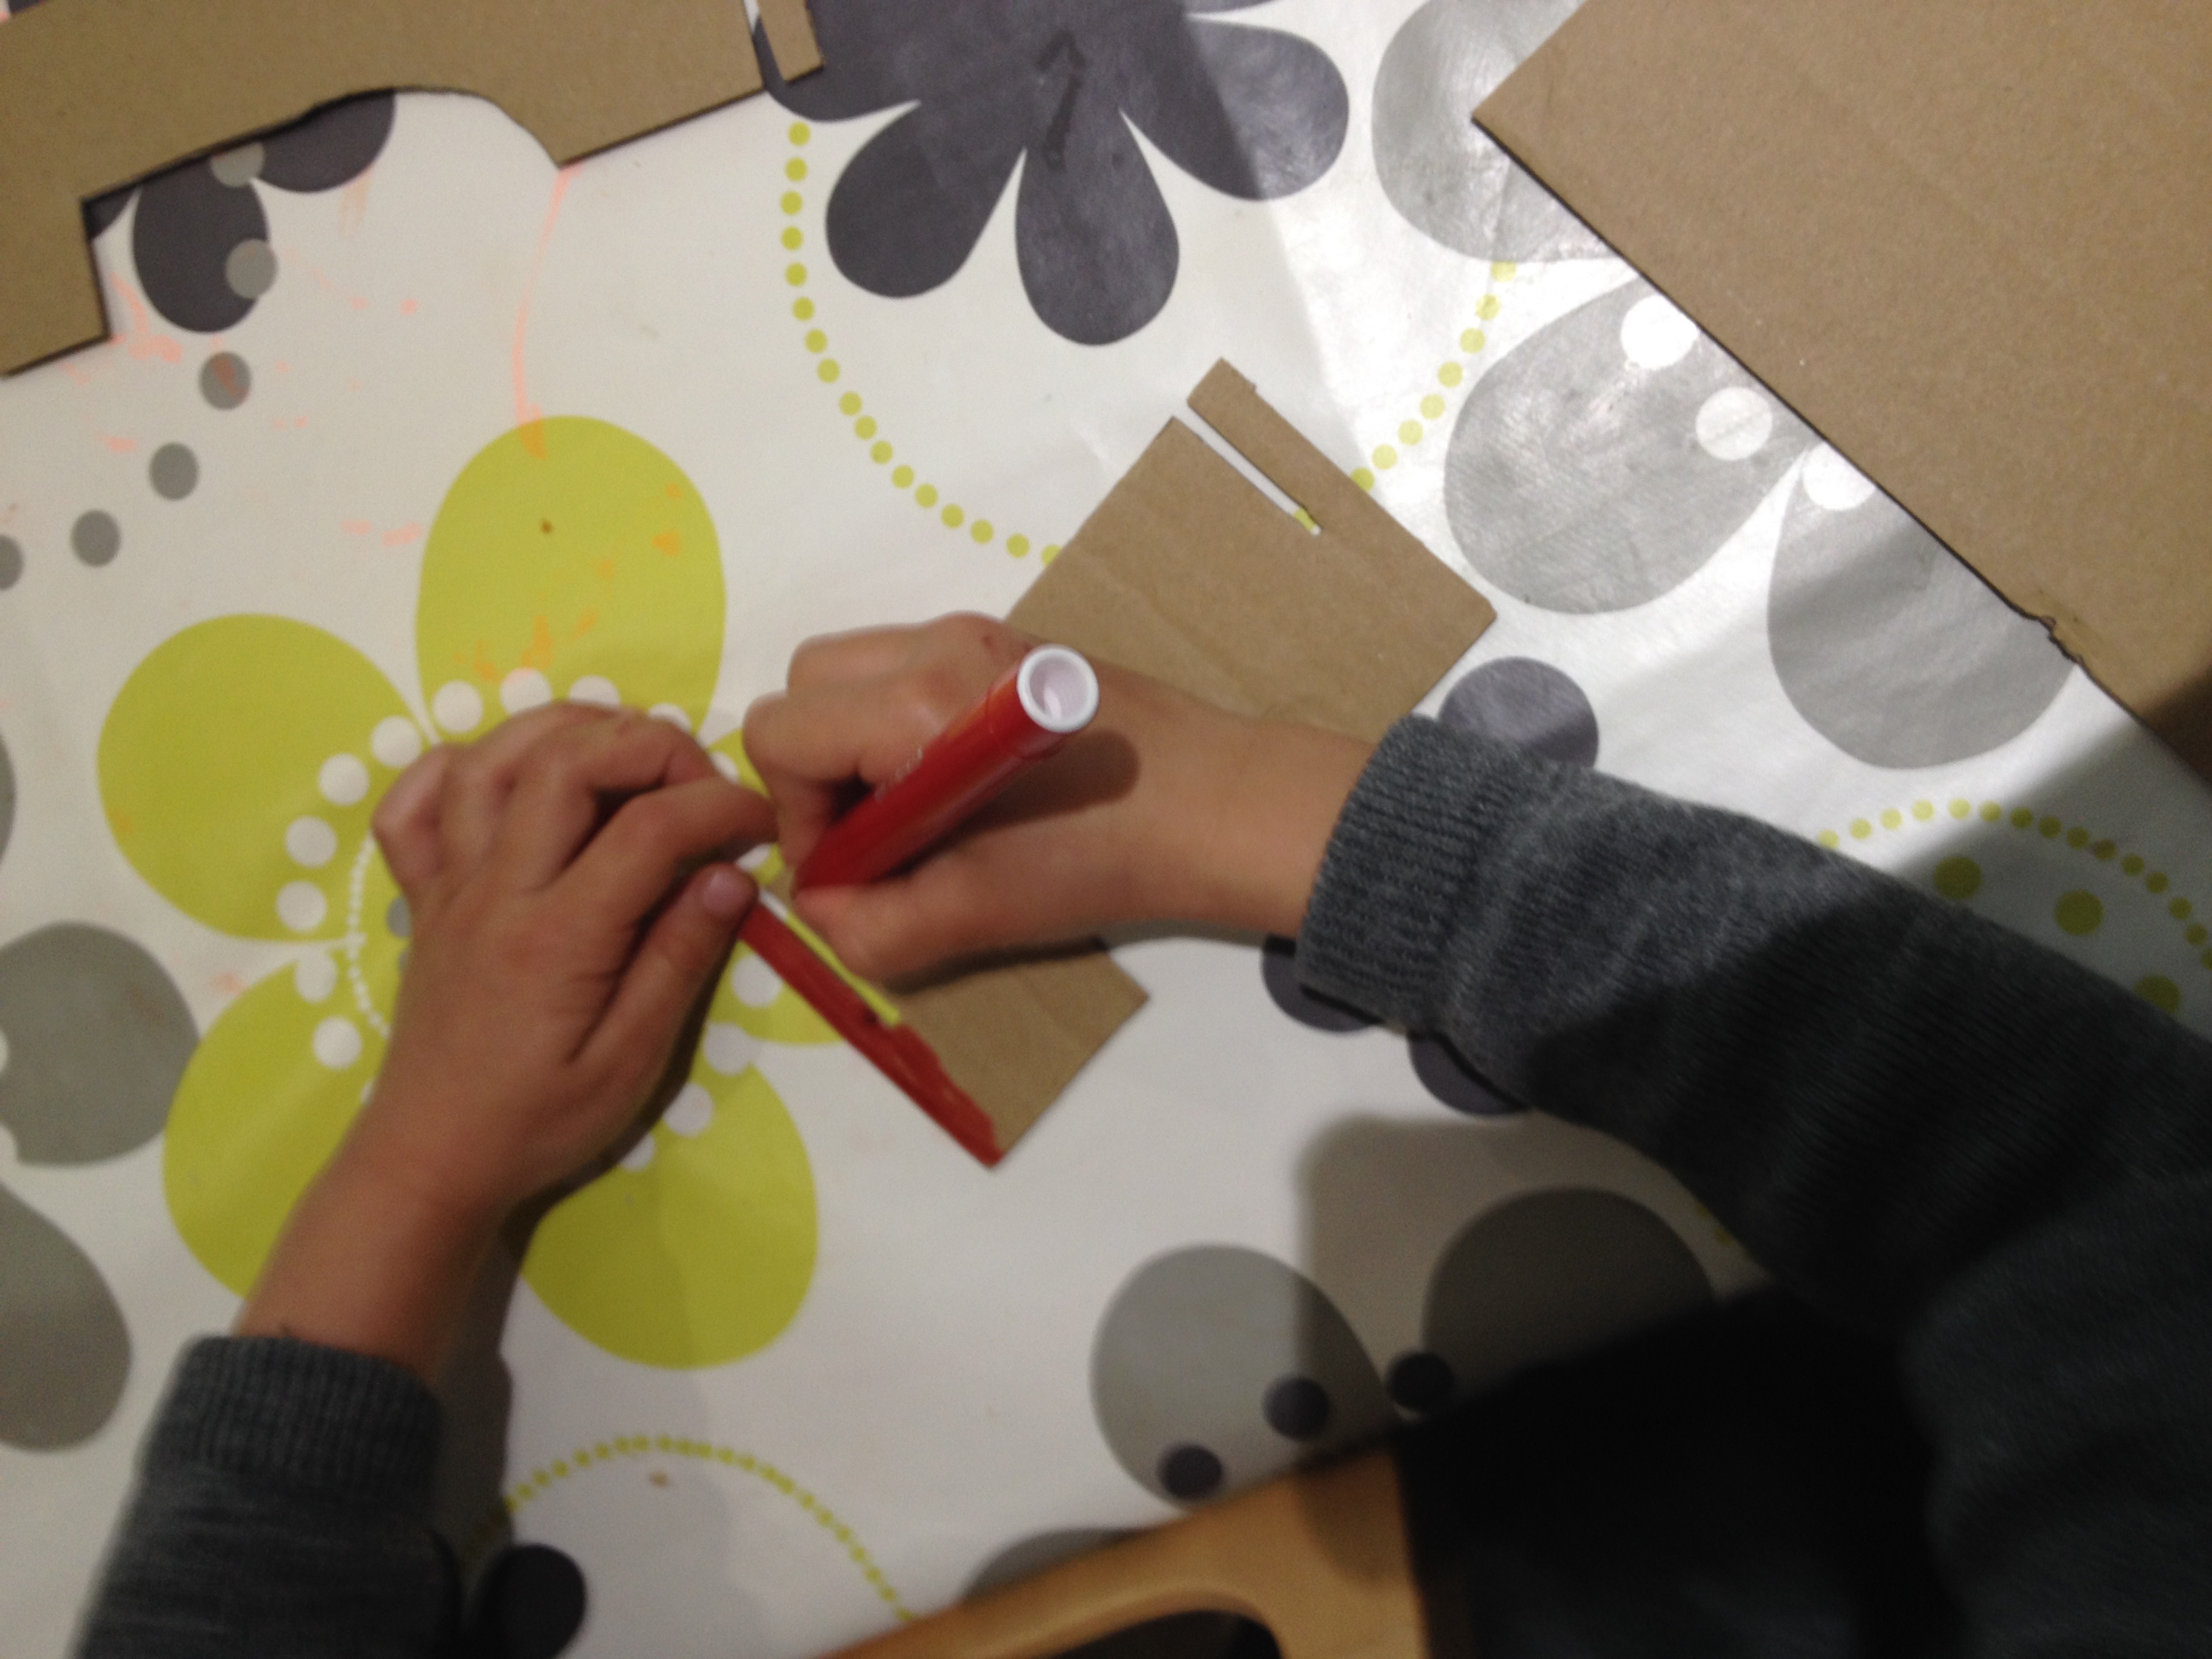
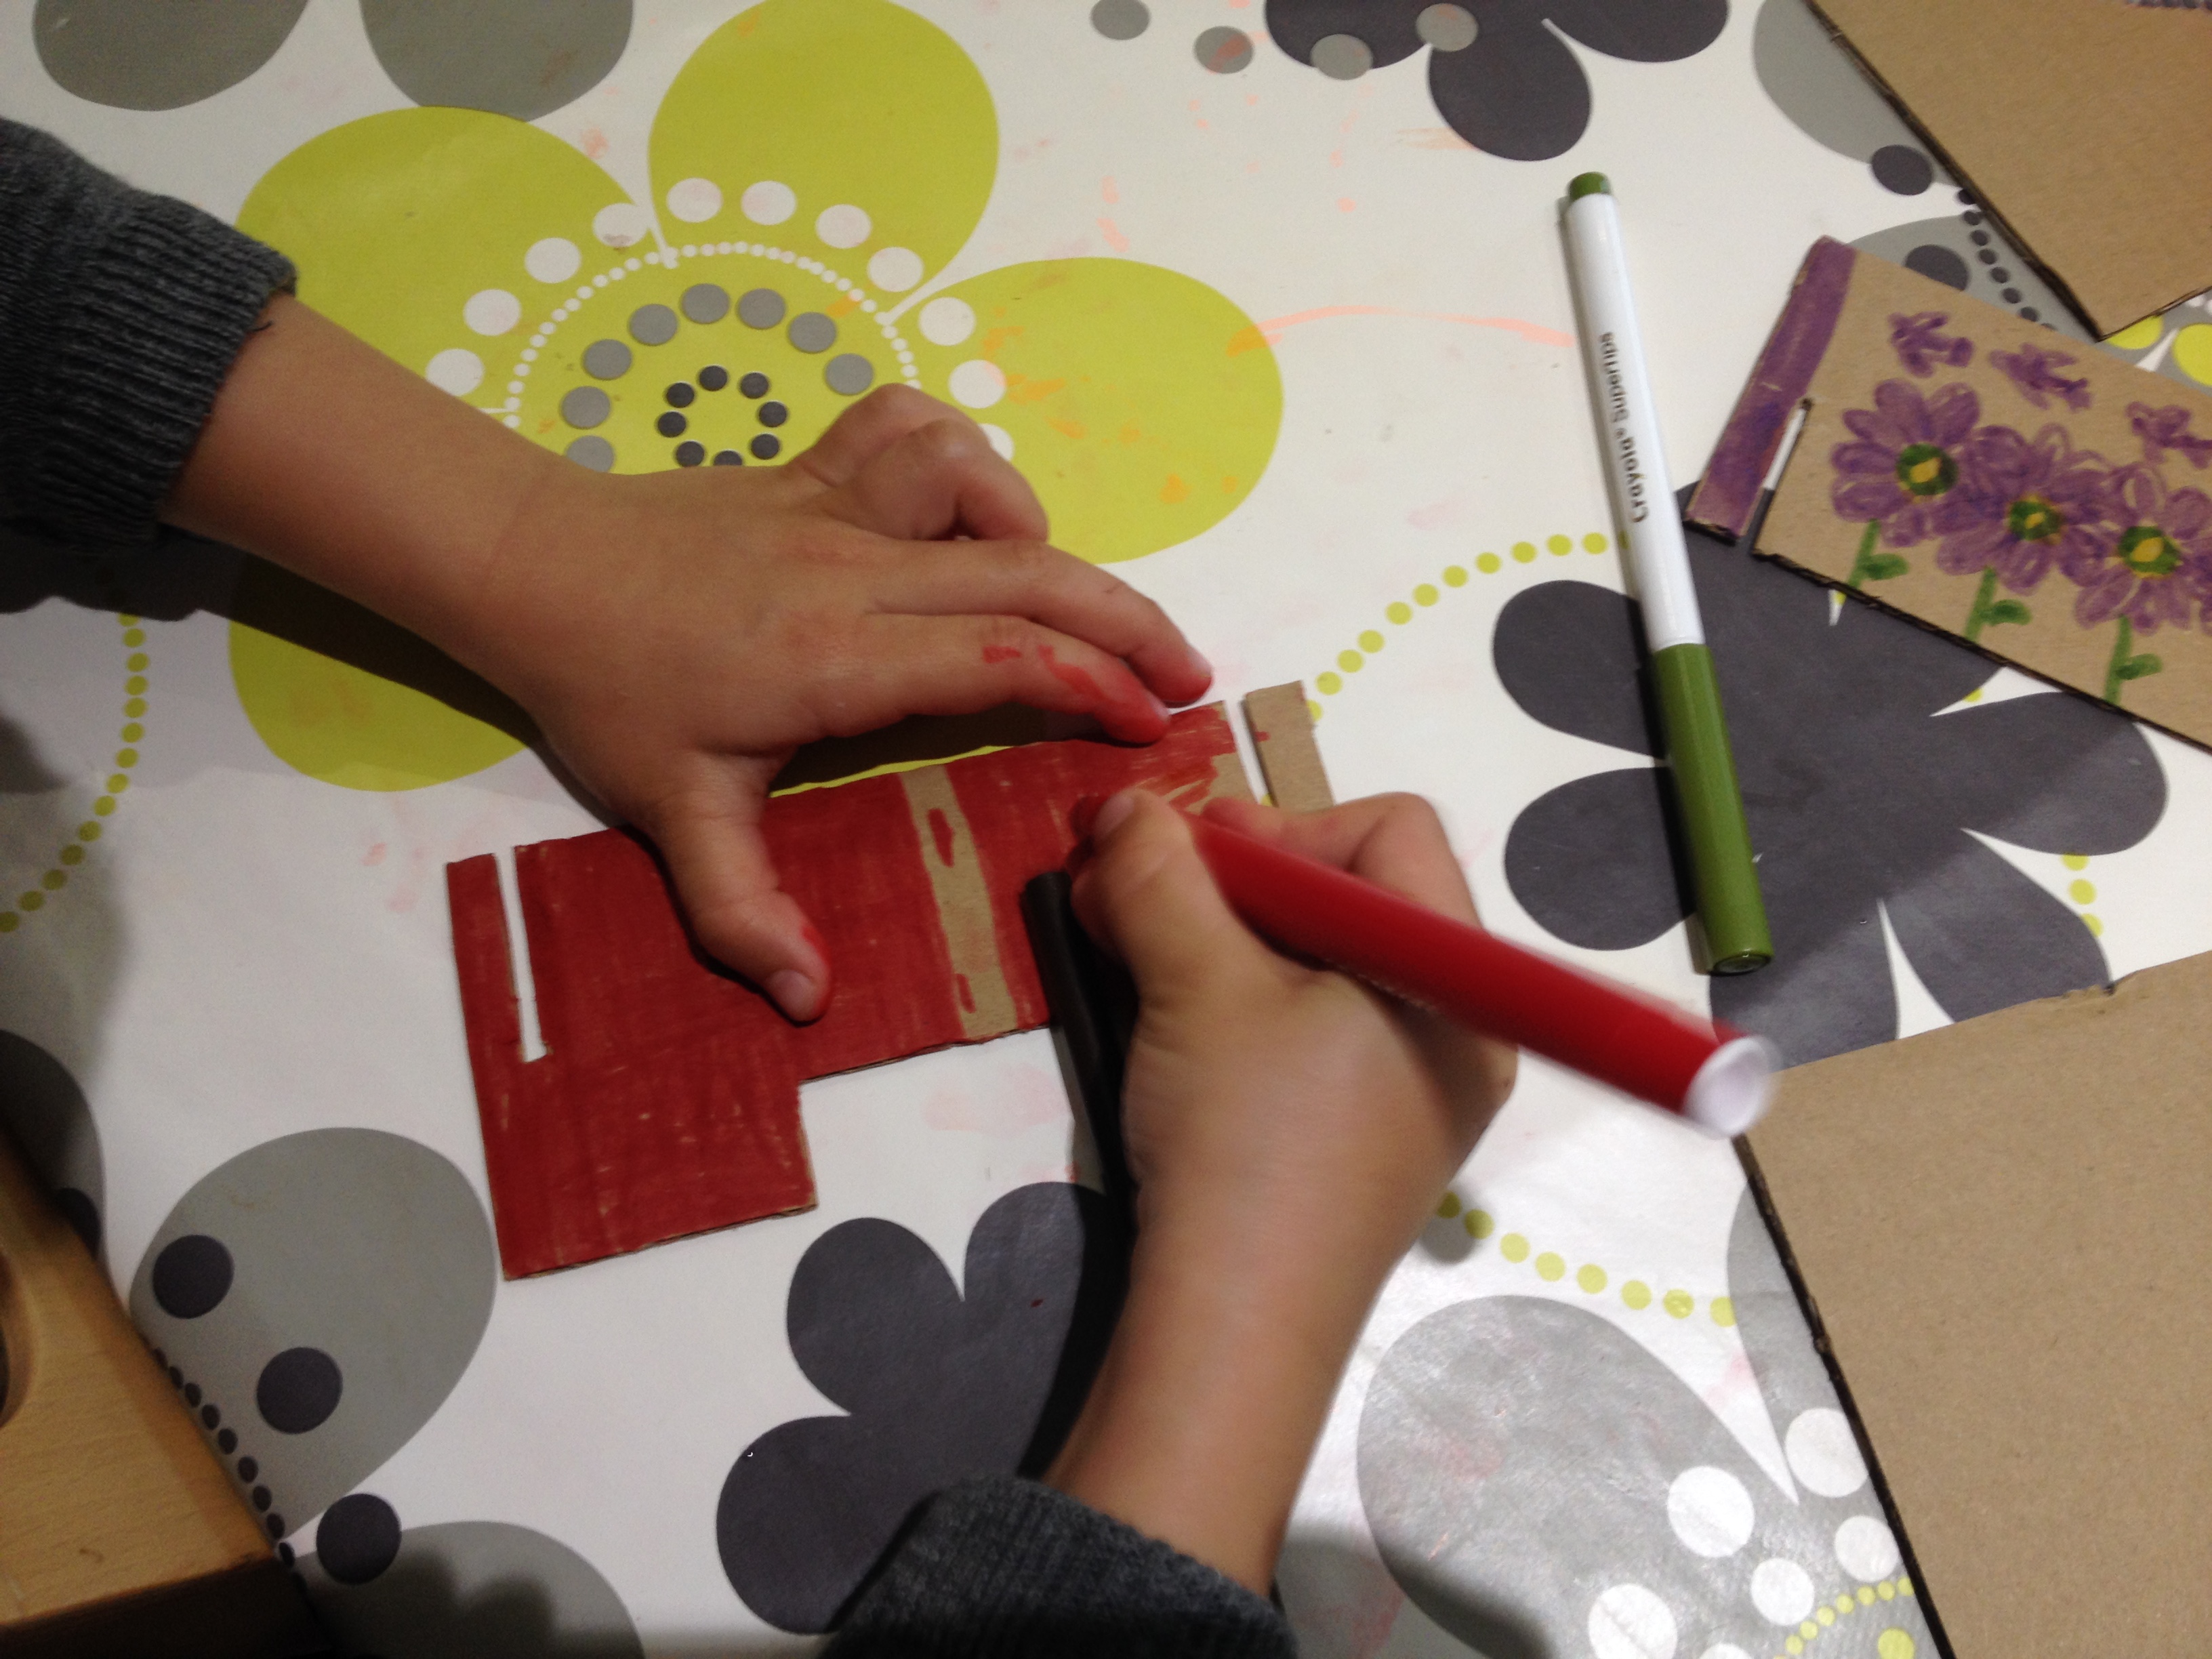

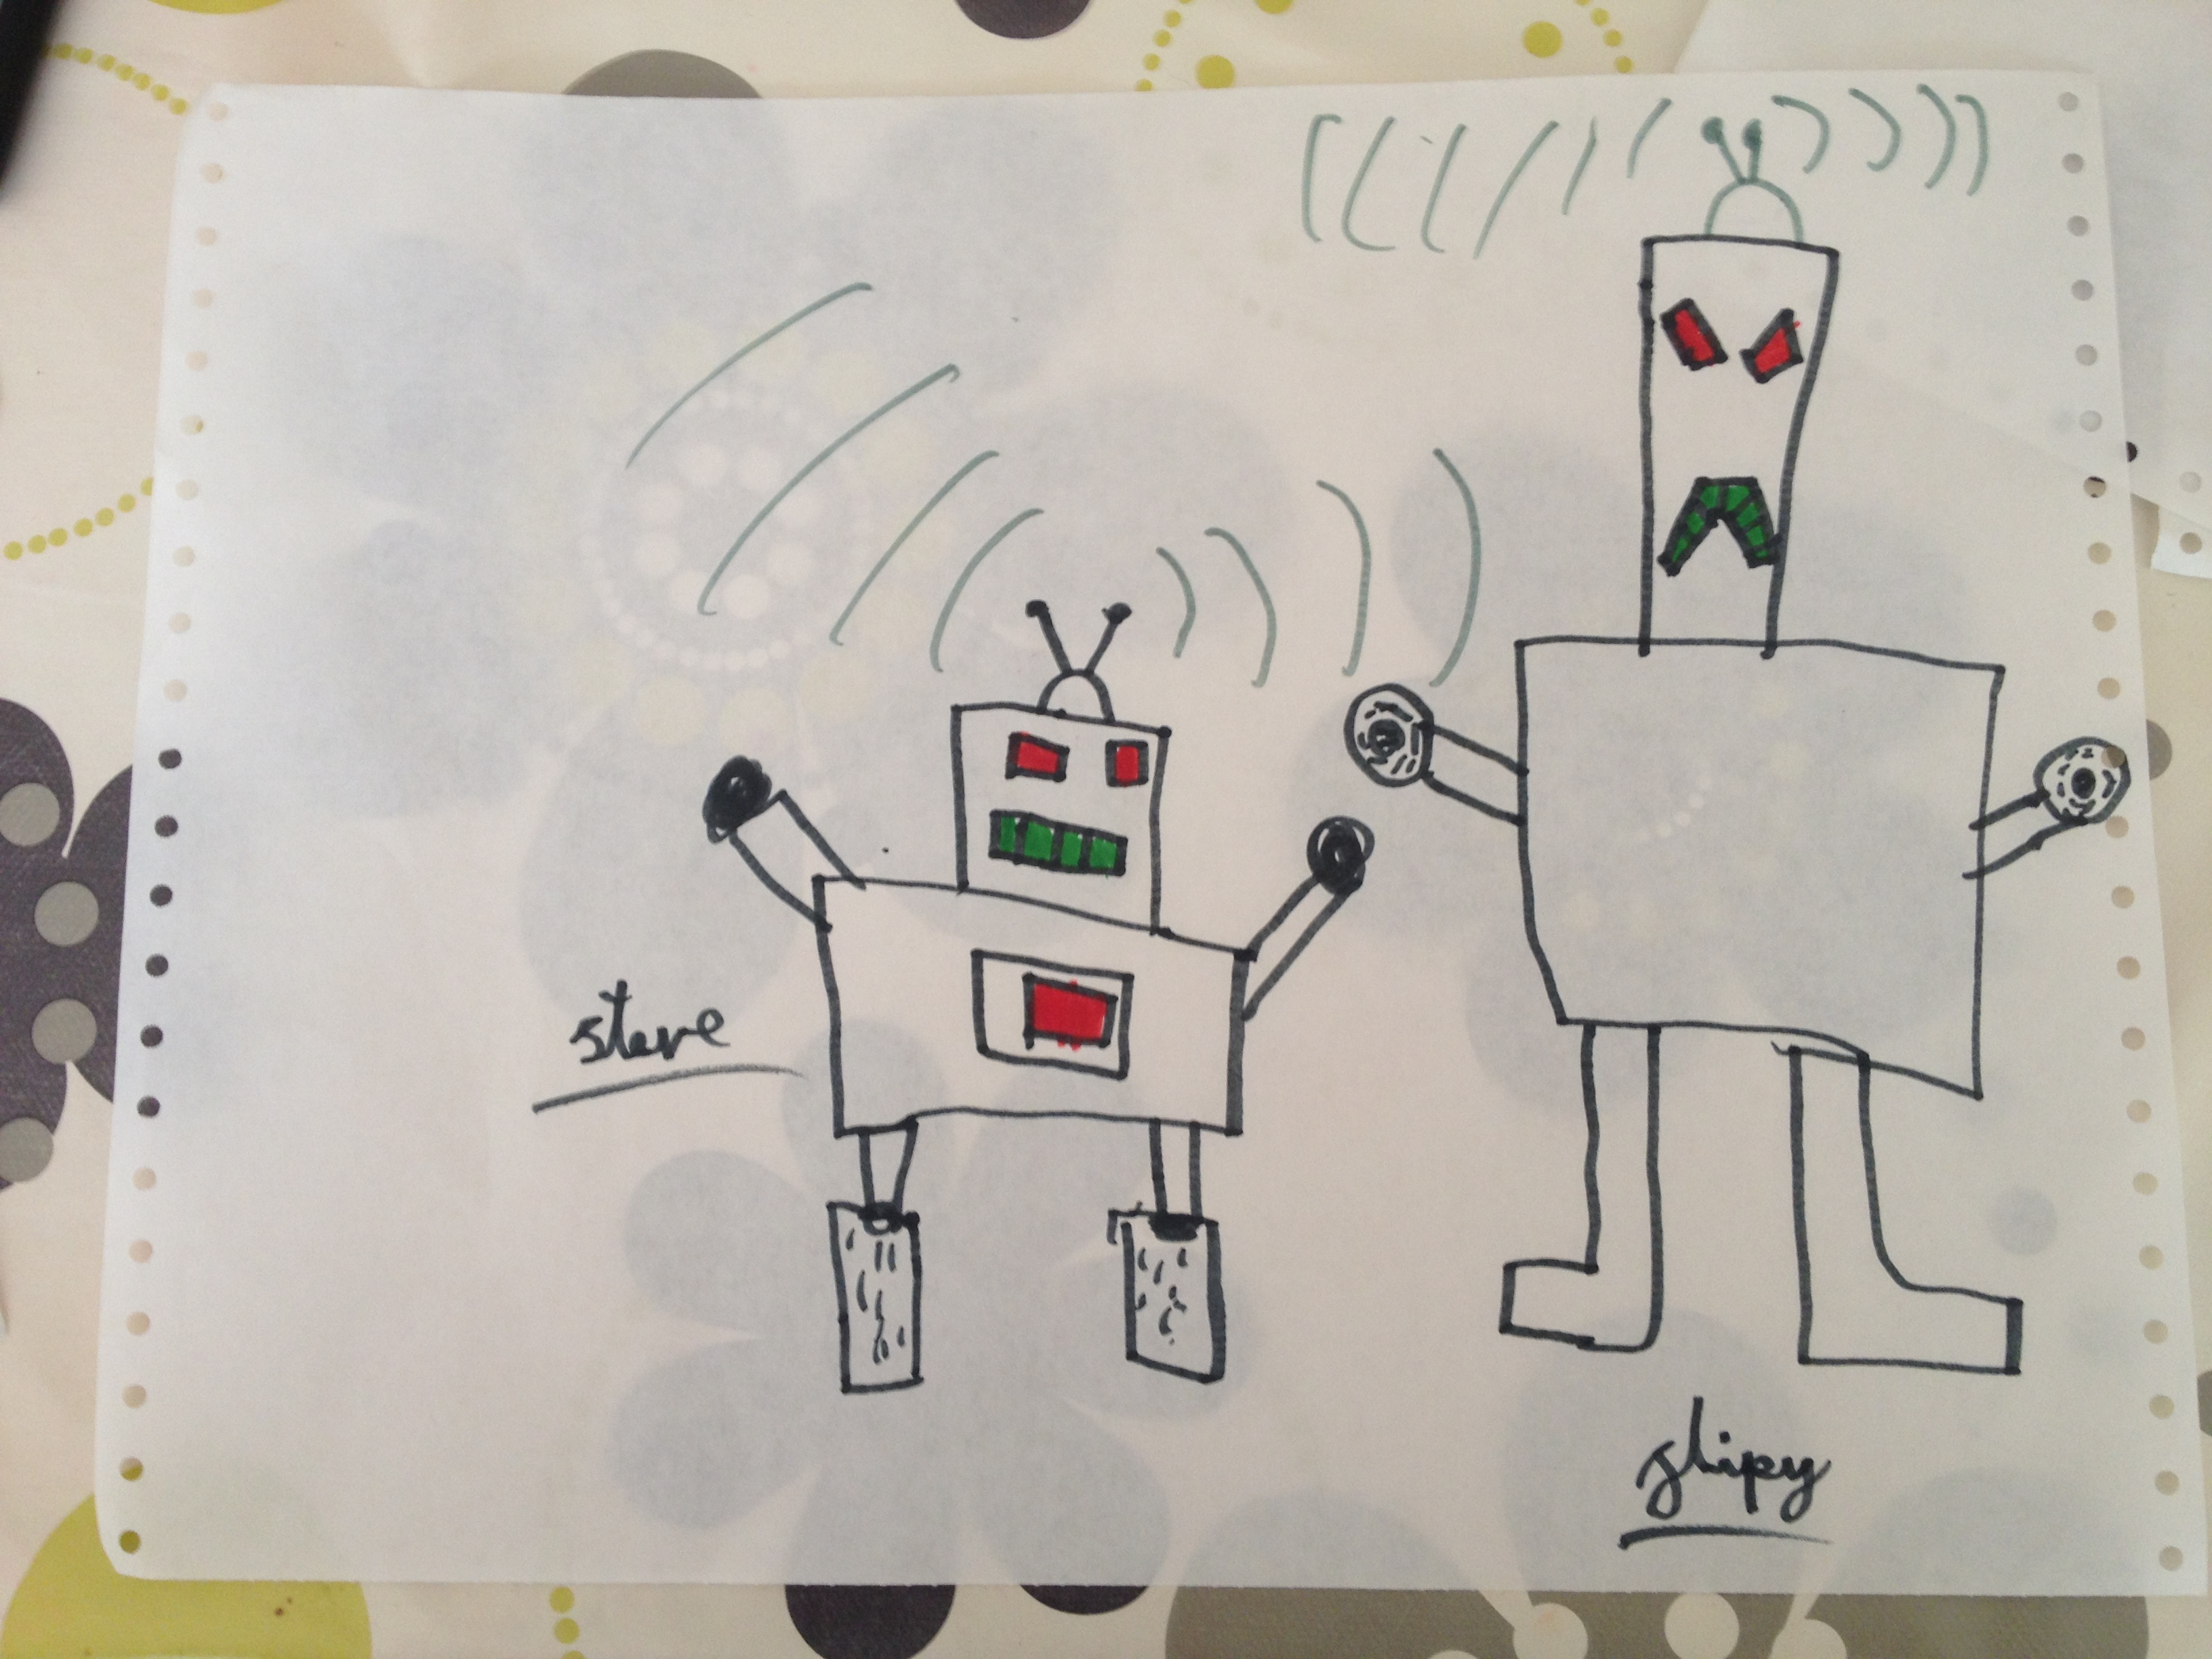
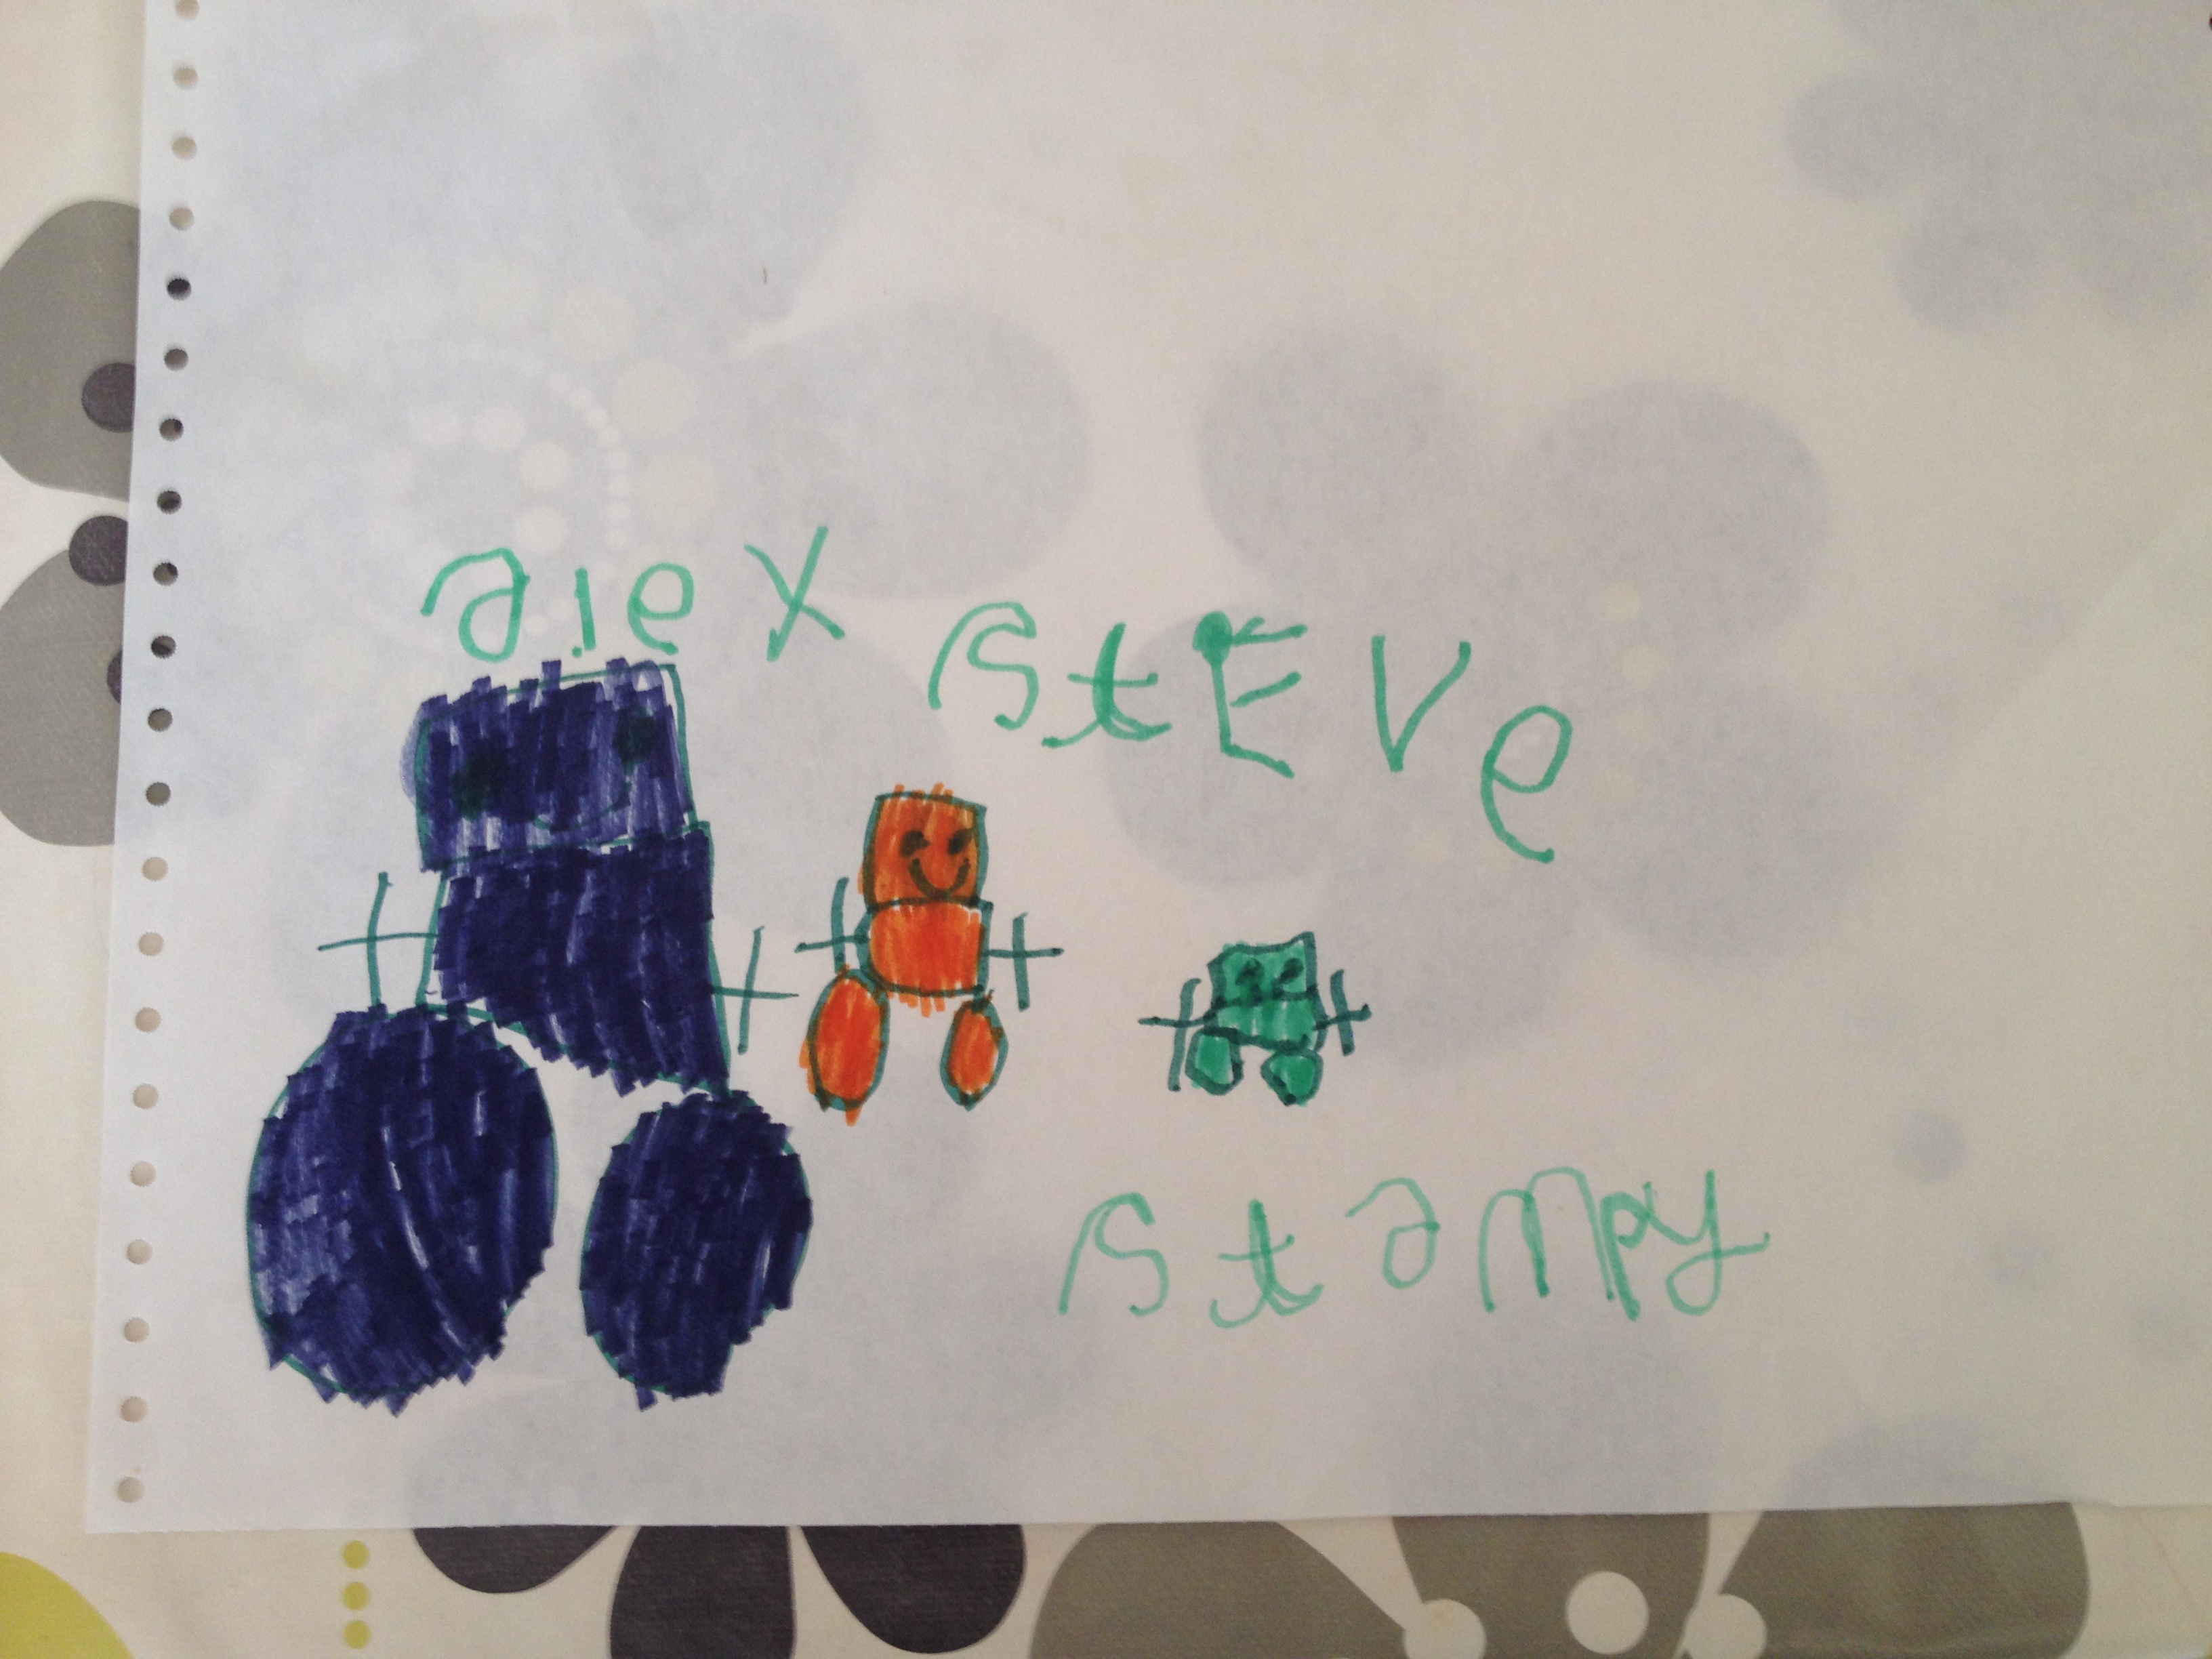
The name Steve came out when we started to introduce the idea of the robot to children by asking them to draw a two-wheeled robot. Most of them were giving names to their creation and one of them was Steve.
The project name “make stevemove” comes from the makefile we created to compile the project on the Raspberry Pi, where the recipe for compiling is called “stevemove”.
Later on in the process though, when we let the children decorate our own Steve, one of the children commented that the name Steve was lame, and another one said it should be called “Electrocutor”.
This is the reason why If this was to be a real product we would think to give it a more neutral name and give each one of the little users the possibility to choose the name they think is most appropriate!
Encountered problems
Bizarrely, the instructions that came with the pre-made kit was entirely in Chinese which neither of us could understand. Luckily, the instructions also came with a few diagrams, so we were able to refer to them to piece the robot together. However, it still took longer to build the robot than it should have, due to a lot more ambiguity in the instructions from solely relying on the few diagrams that were included in the instructions.
The design and implementation of the software took much longer than expected due to various problems that had arisen.
The first problem was that the initial design of the software turned out to be far too complex for our target audience to use. Initially, the program had too many buttons that would allow the deletion of either the first command on the queue, the last command on the queue or all the commands, as well as allowing the deletion of a specific command block. Also, the initial design planned to feature a drag and drop function that would be used to allow the children to construct their own strings of commands. Both of these features were either heavily adjusted or scrapped entirely to ensure that the program would be easier to use for our target audience. The program now only features two delete buttons (one for the last block, one for all blocks) and a simpler “click-to-add” system to add command blocks to the queue.
The code itself was also over-complicated and it was trying to use a complex object oriented class structure with polymorphism for its command buttons, which was not necessary due to how simple the program will be. This meant a huge redesign and restructuring of the code to ensure that the code was much simpler to edit and change. The code now only includes one class for the command blocks, rather than having a parent class and many child classes for the buttons.
Another problem we encountered was related to linking the library oscpack in a raw C++ project on the Raspberry Pi.
We struggled to solve this at first as we spent a long time trying to avoid the problem using openFrameworks and the addons ofxOsc and ofxGpio, which proved to be far too slow for the Raspberry Pi Zero’s processor.
In the end, we went back to the original idea of using oscpack and the wiringPi library and we solved our problem creating a makefile with a recipe to compile linking the libraries correctly.
A main problem that we faced during production was the issues with getting OSC to interact between the software (program) and the hardware (robot) - this was an issue that was already foreseen in the project proposal. Despite the fact that the robot was able to receive the commands, it was not able to move based off what it was sent. We were unable to solve this problem, as the documentation of the library oscpack is very poor.
Evaluation
Unfortunately, we were unable to fully meet the aims of our project, mainly due to the problems that surfaced throughout. Much time was lost trying to solve problems, and many of our proposed aims had to be scaled back as we soon realised it would not have been possible for us to successfully implement the ideas within the limited time we had. User testing was also initially part of the project plan, but ultimately we were unable to carry this out because we were unable to get the interaction between the program and the robot to work.
Regardless, we still managed to create something that is (at the very least) presentable - we have a robot with a body designed by children, that can also move if it was given instructions from the console. We also have a built program that features an interface that would allow children to create their own instructions to send to the robot.
Bibliography
[1] Grant Hosford - Do Your Kids Need to Learn to Code? YES! But Not for the Reasons You Think
[2] Farnell Element14 - Are UK Teachers Up To Code?
[3] Dan Crow - Why every child should learn to code
[4] The Guardian - Young coders: what's happening in the rest of the world?
[5] Dan Crow - Why every child should learn to code
[6] Saran Finley - Can hi-tech toys be fun and educational?
[7] The Irish News - Present pressure for most parents
[8] The Toy Association - Perspectives: Global trends in STEM toys
[9] Tanith Carey - We need to stop pushing our kids
[10] Cubetto - Website
[11] Code-A-Pillar - Website
[12] Cubelets - Website
[13] LittleBits - Website
[14] Technology Will Save Us - Website
[15] 01Lamp - Website